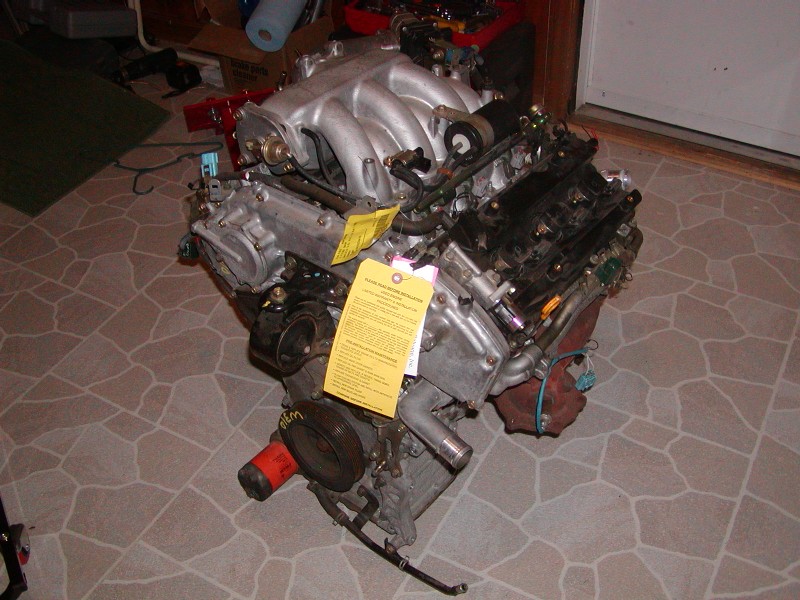
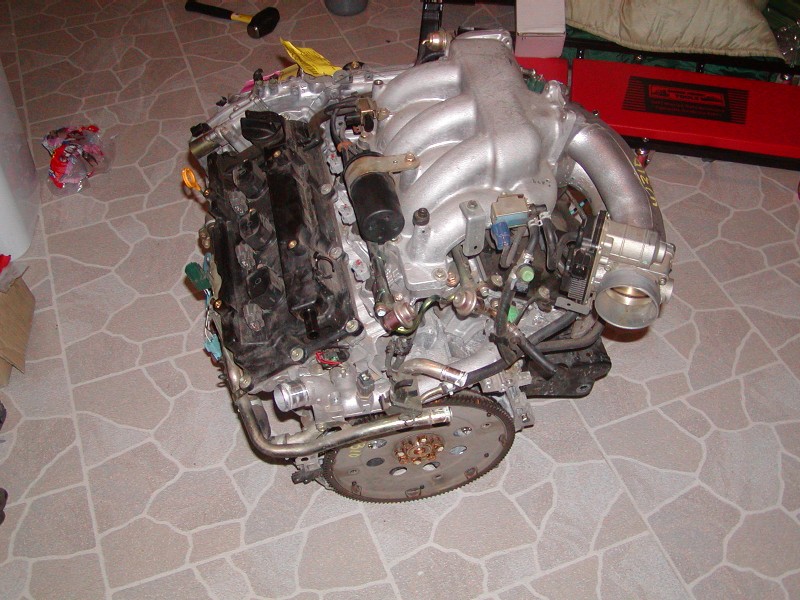
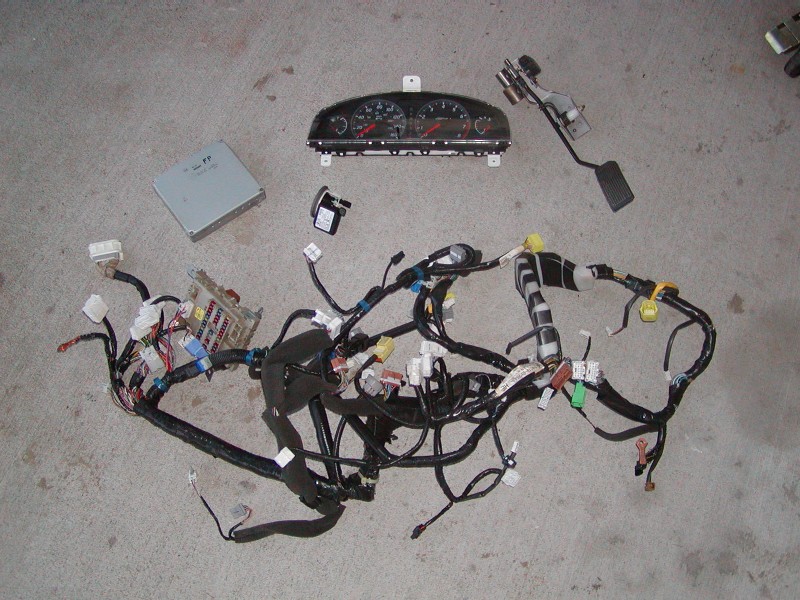
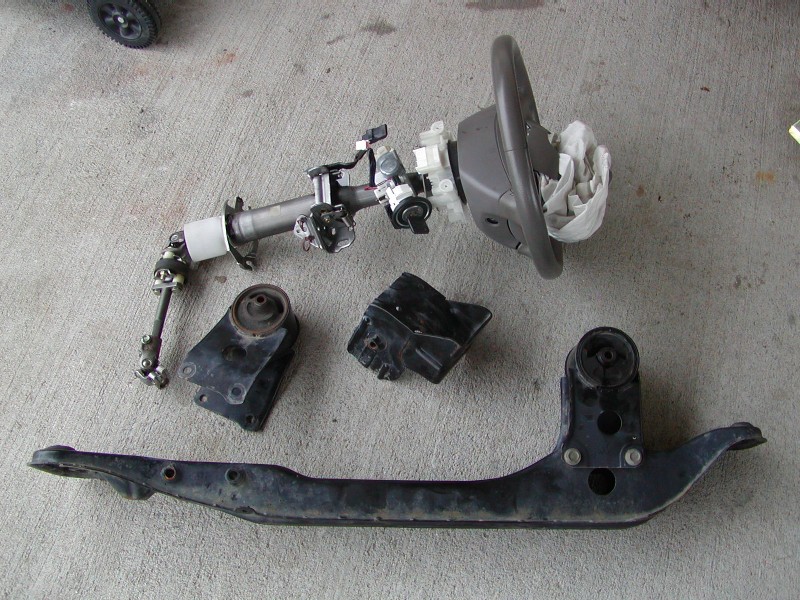
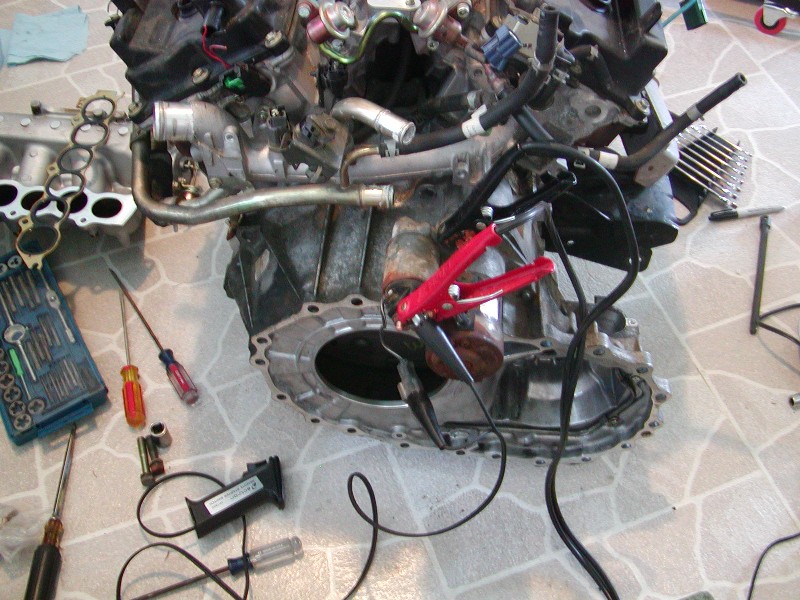
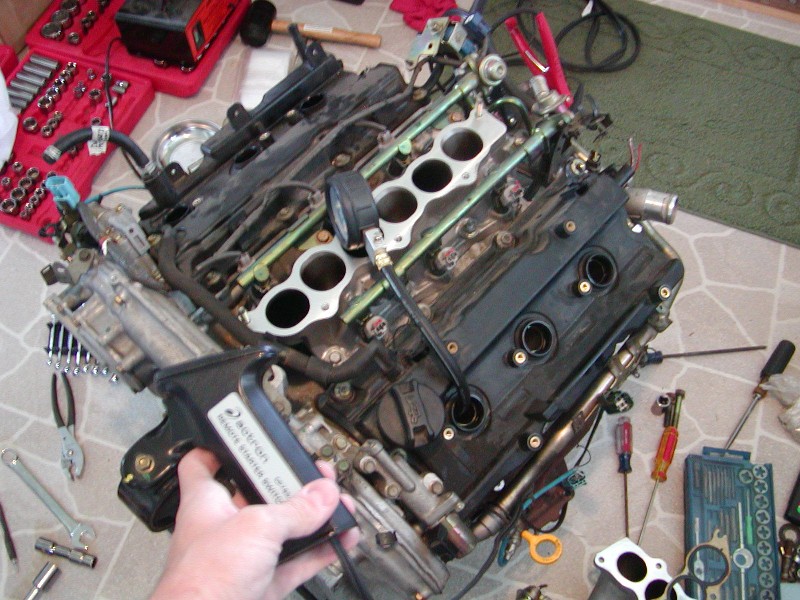
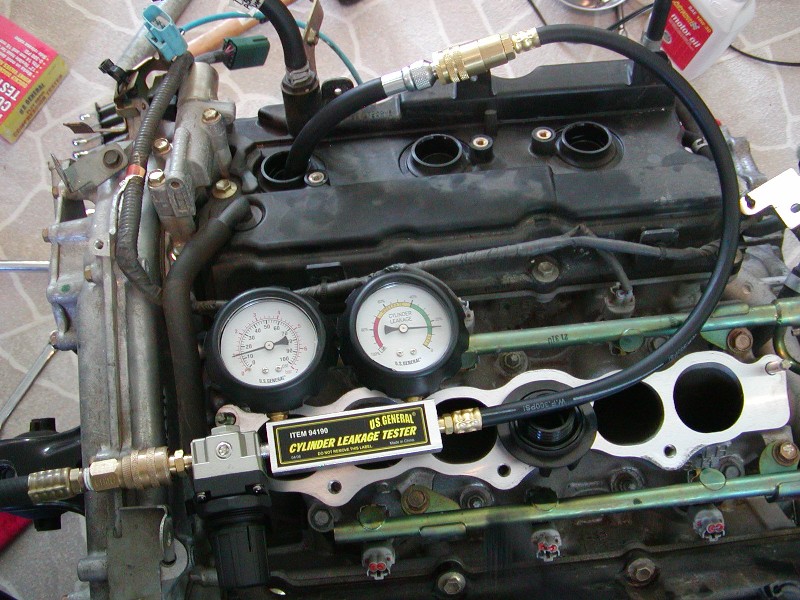
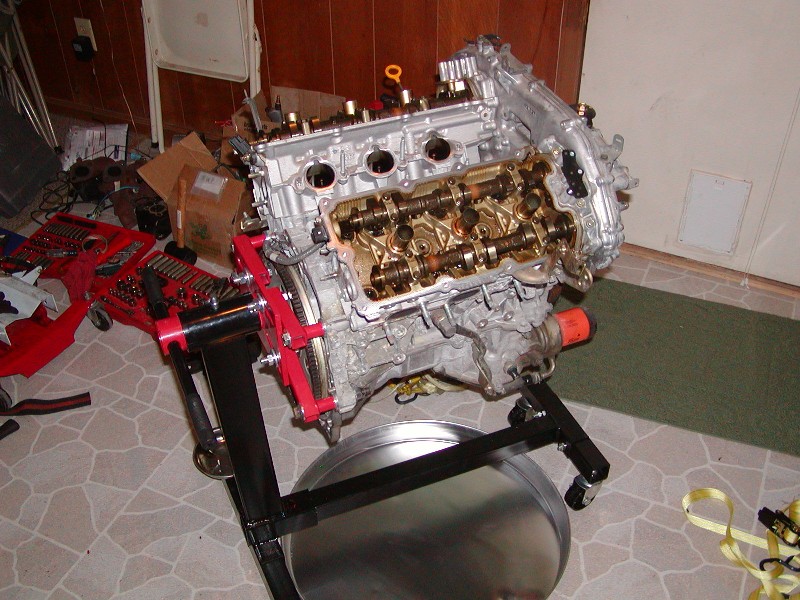
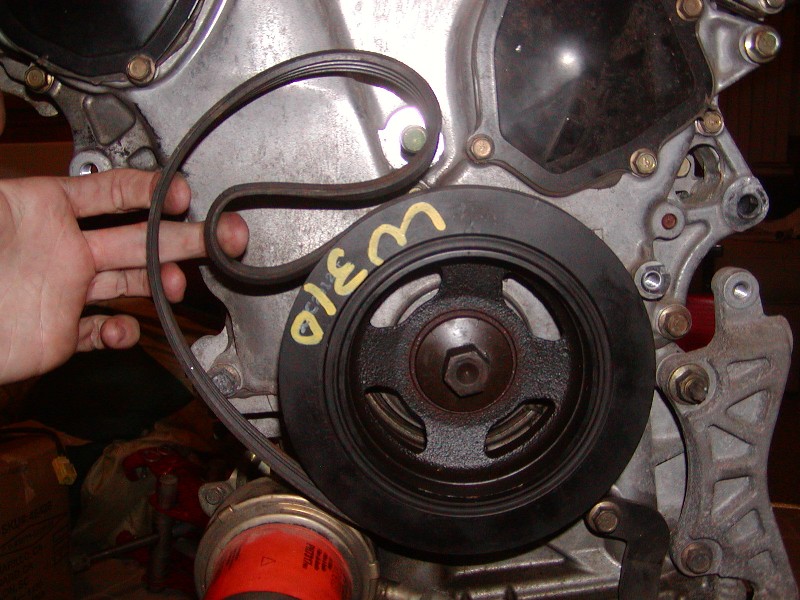
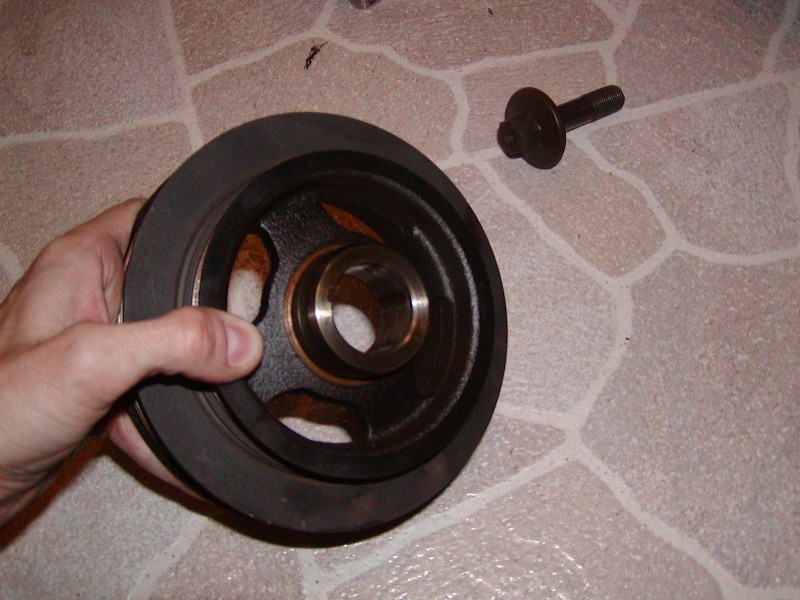
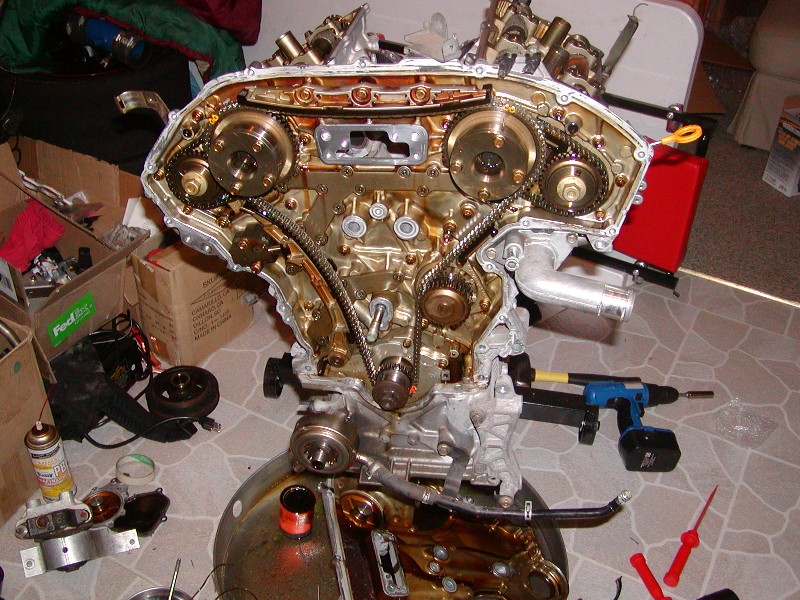
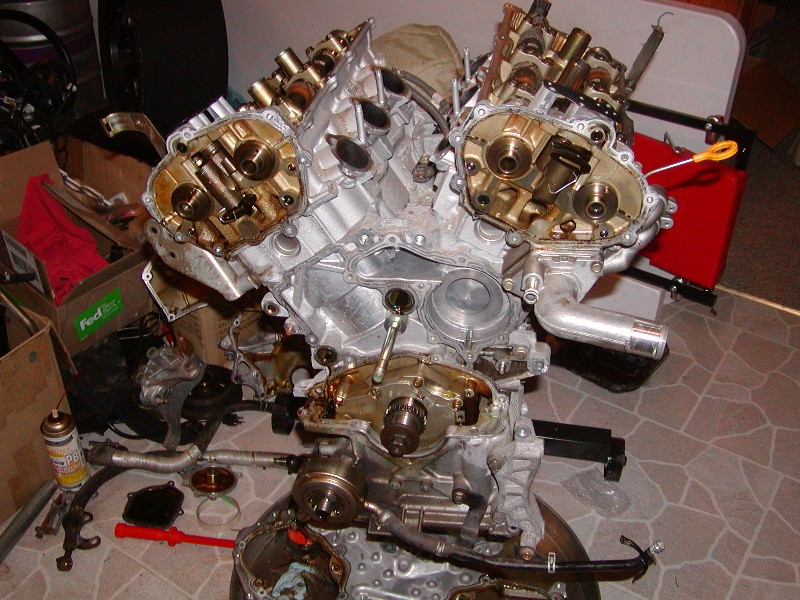
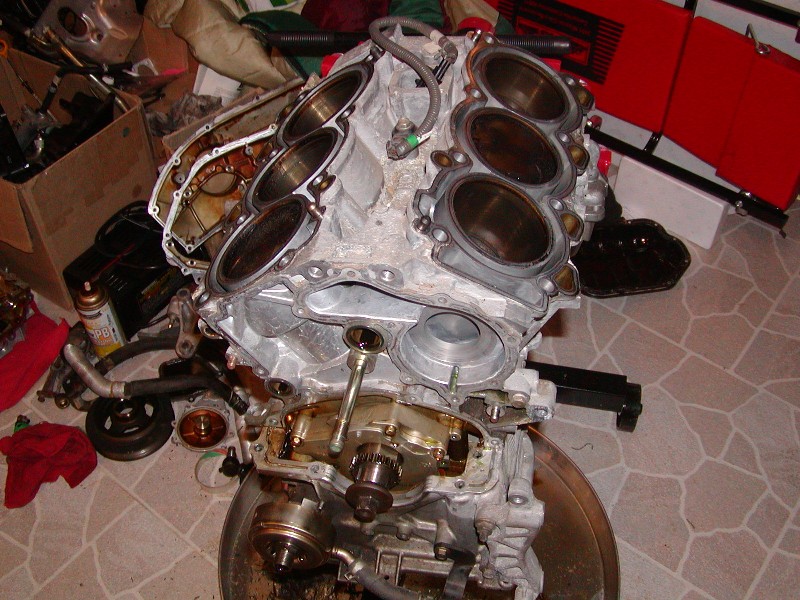
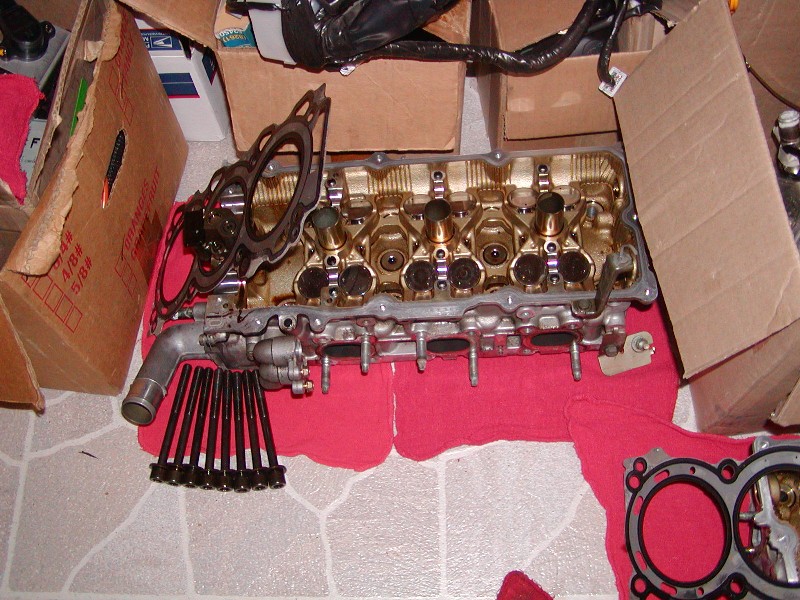
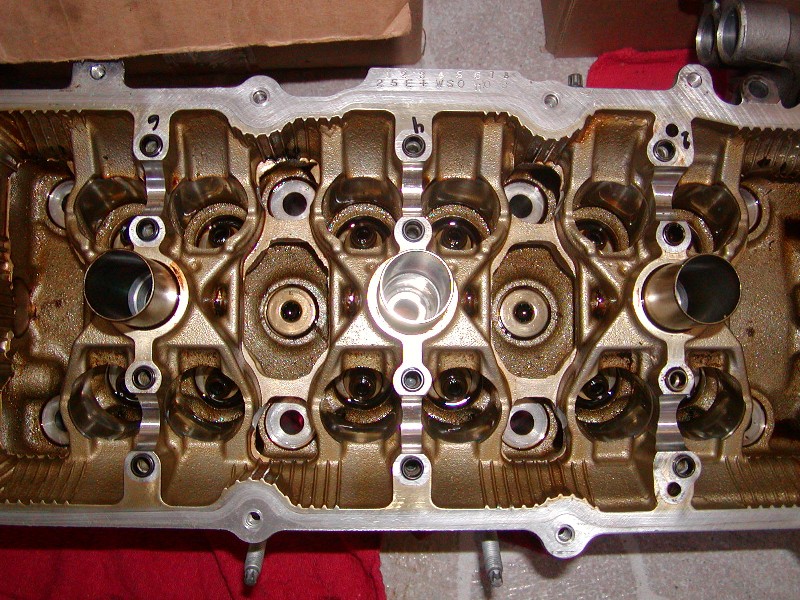
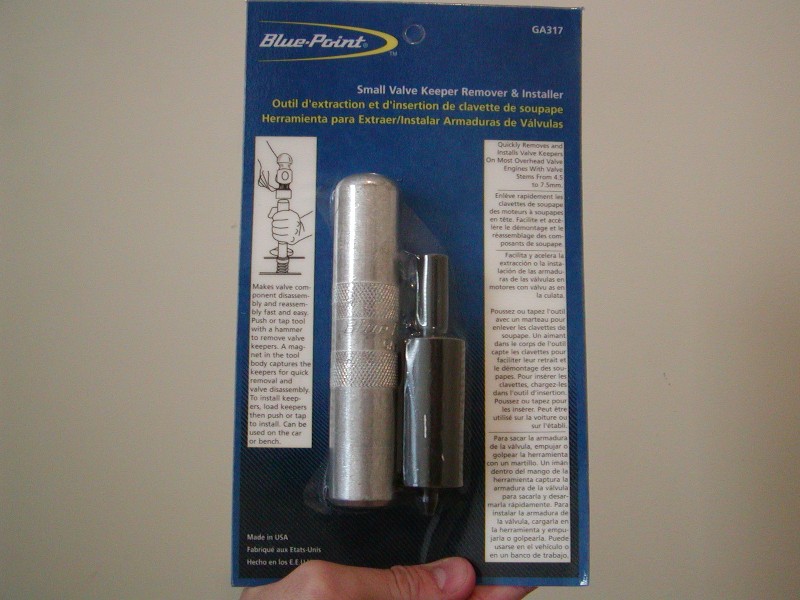
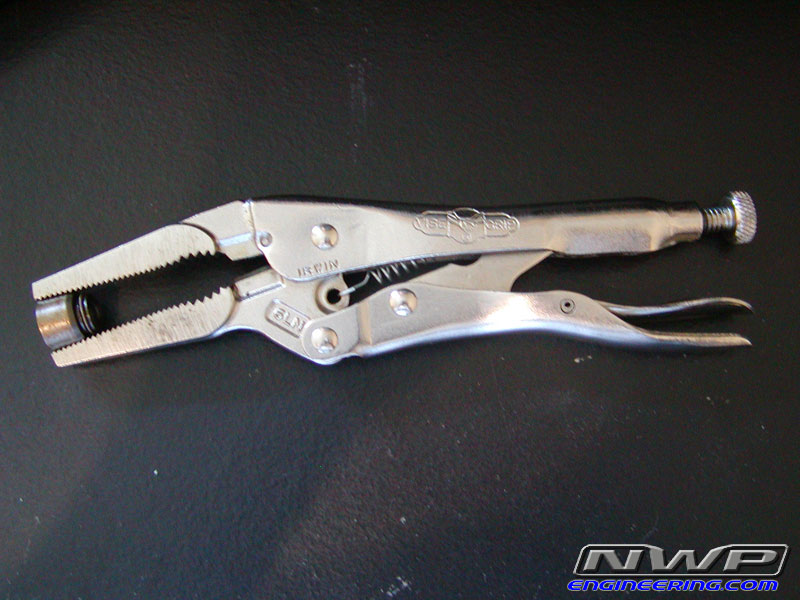
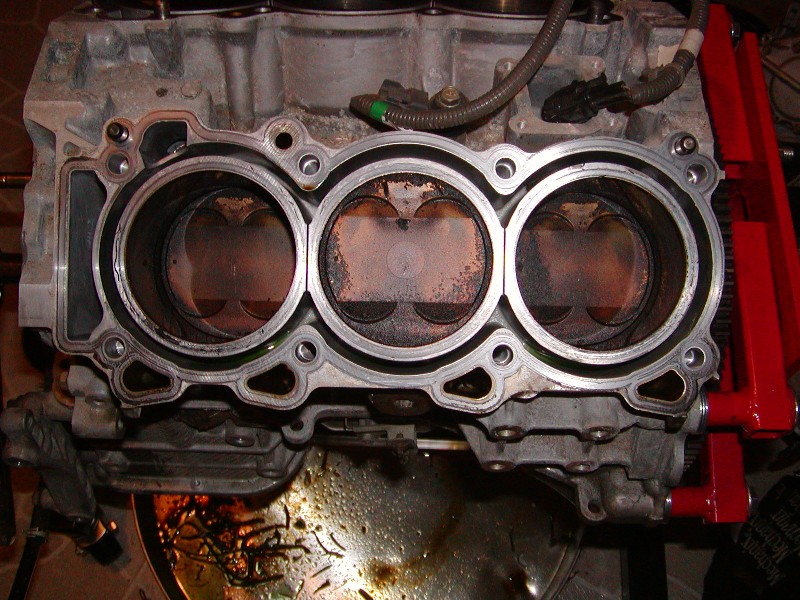
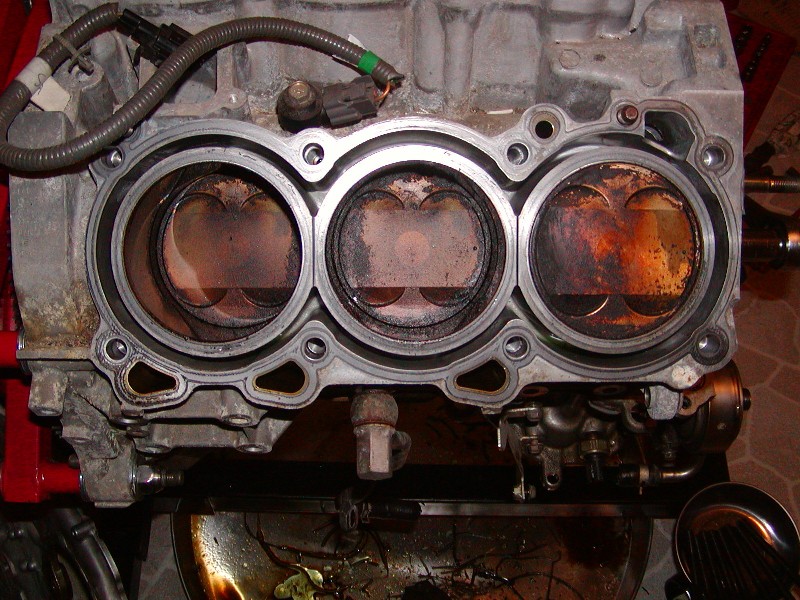
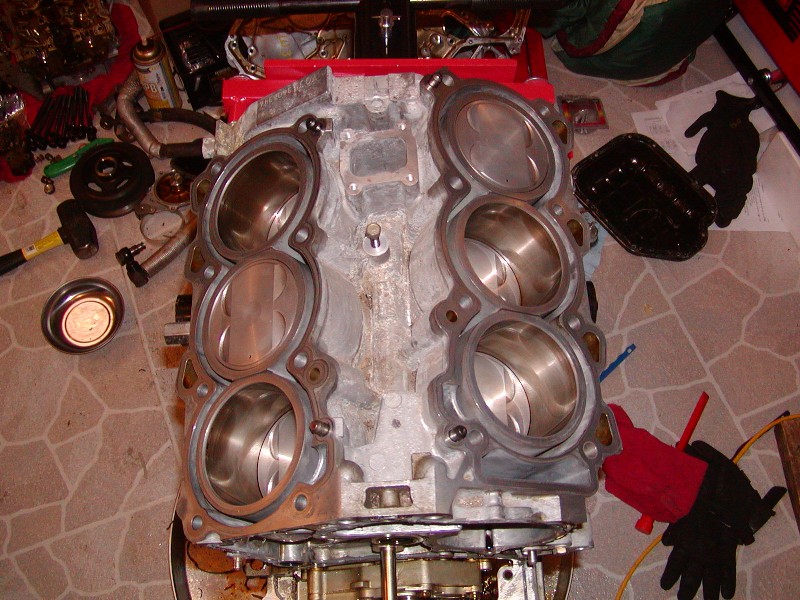
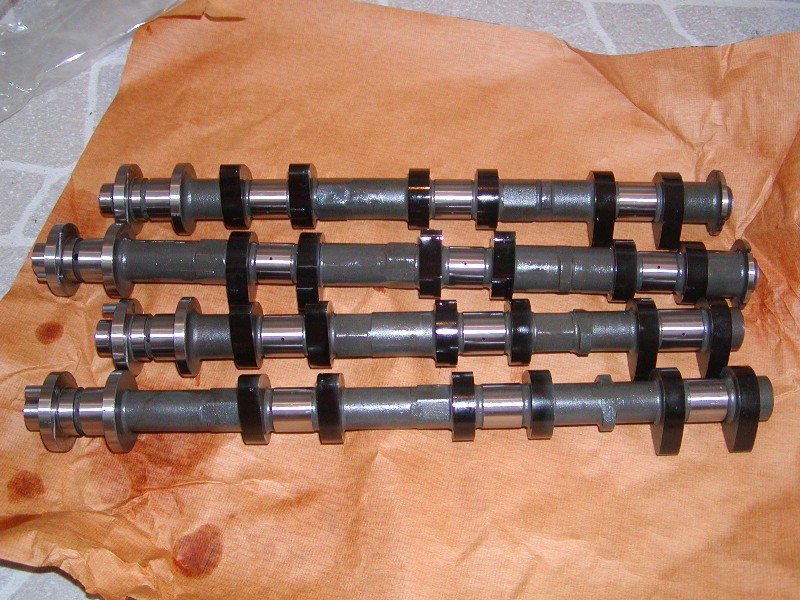
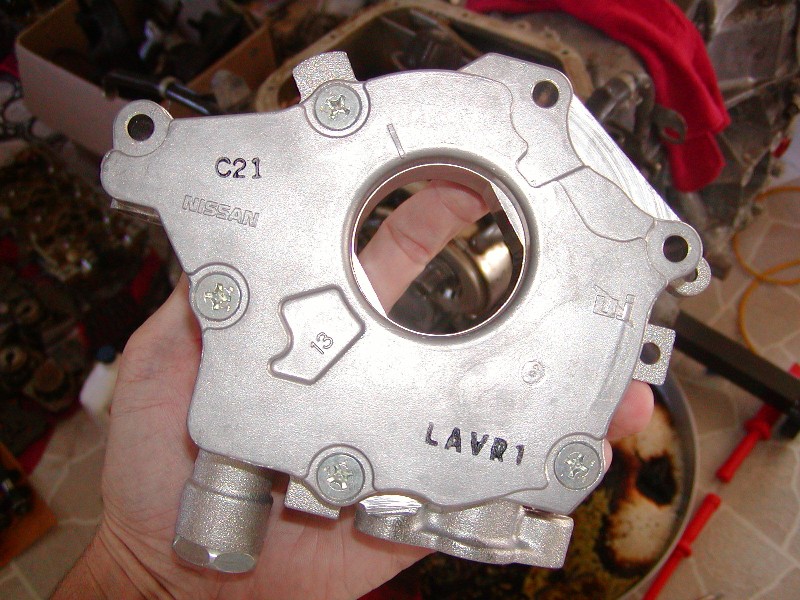
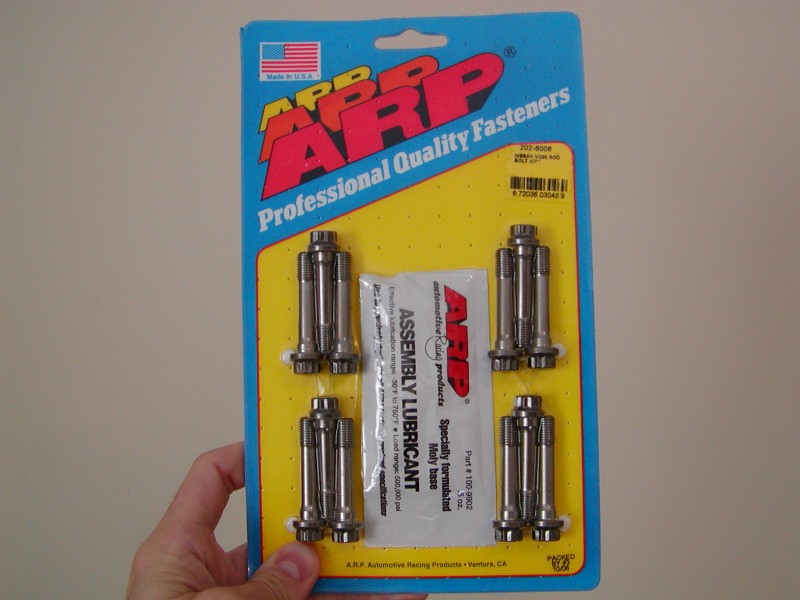
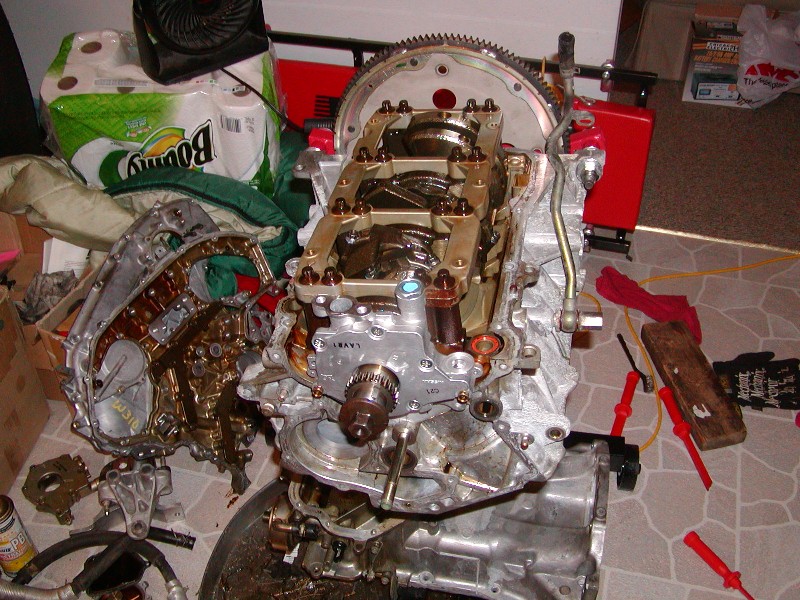
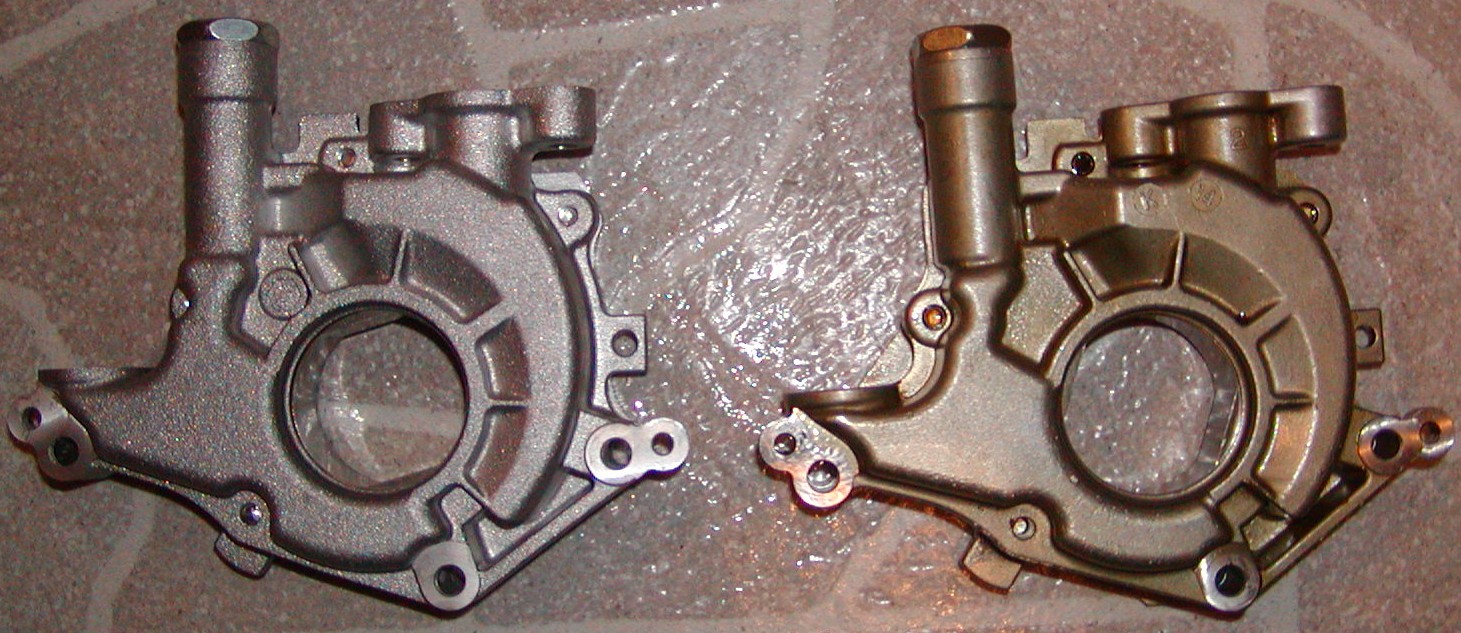
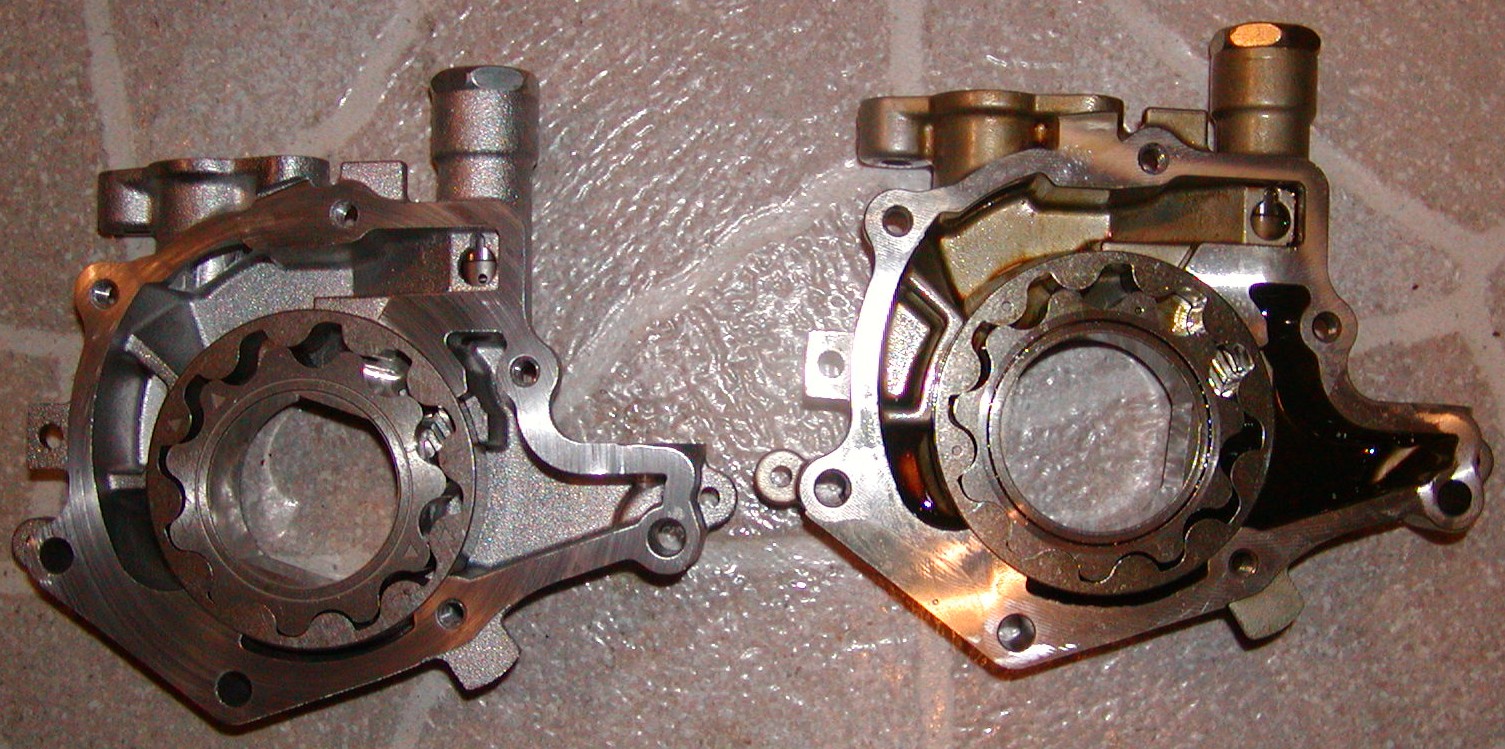
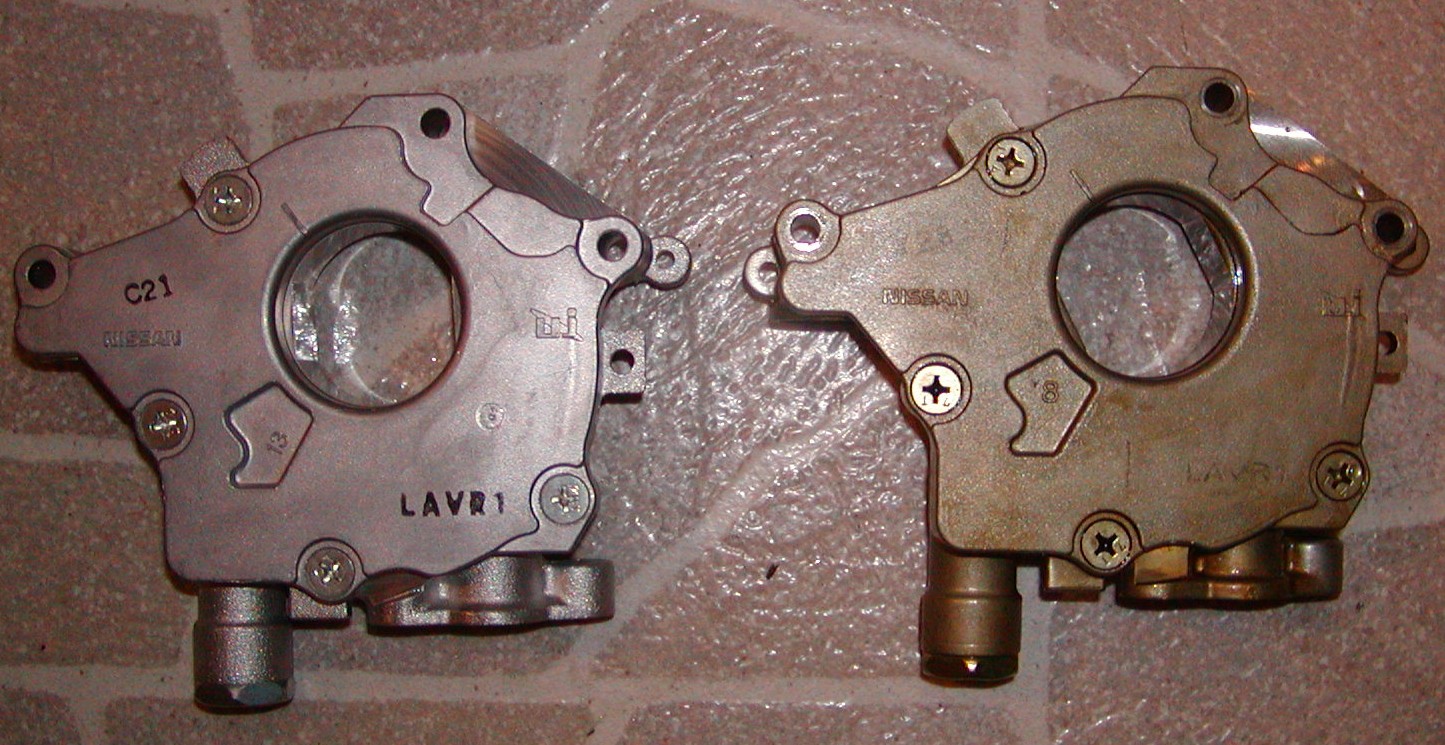
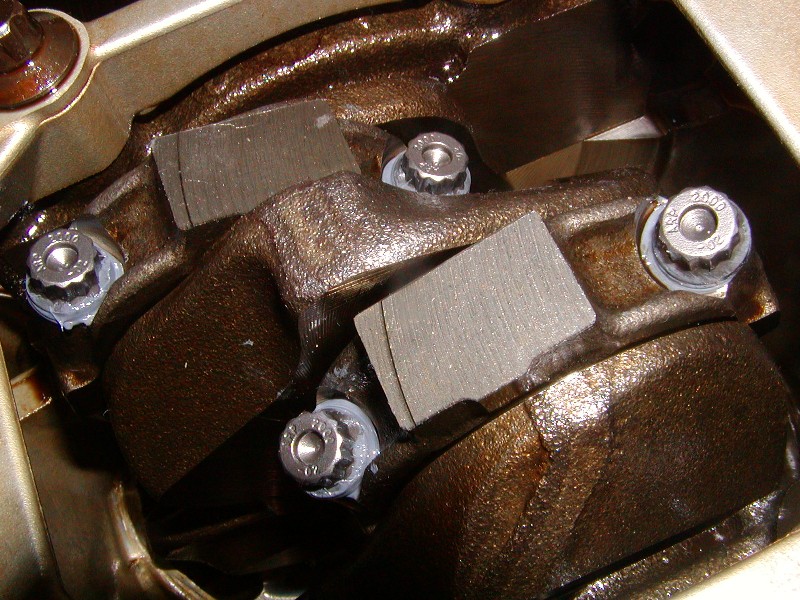
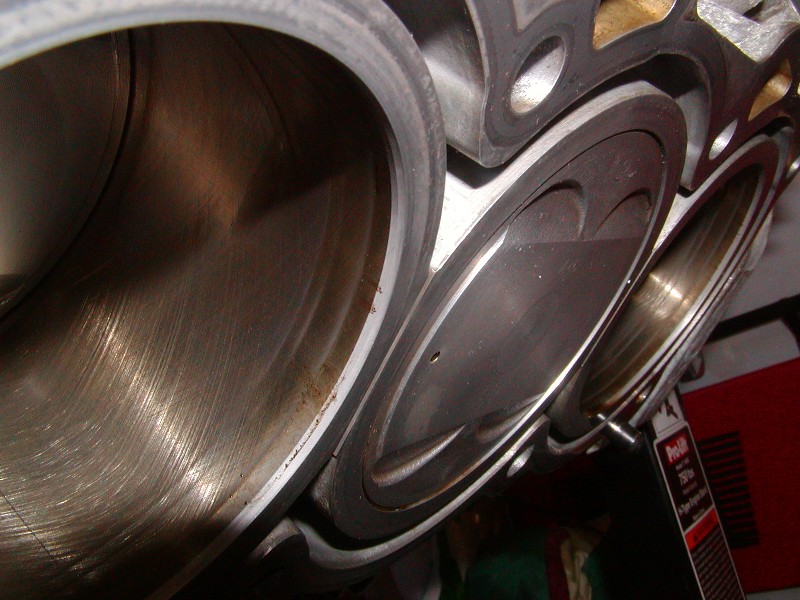
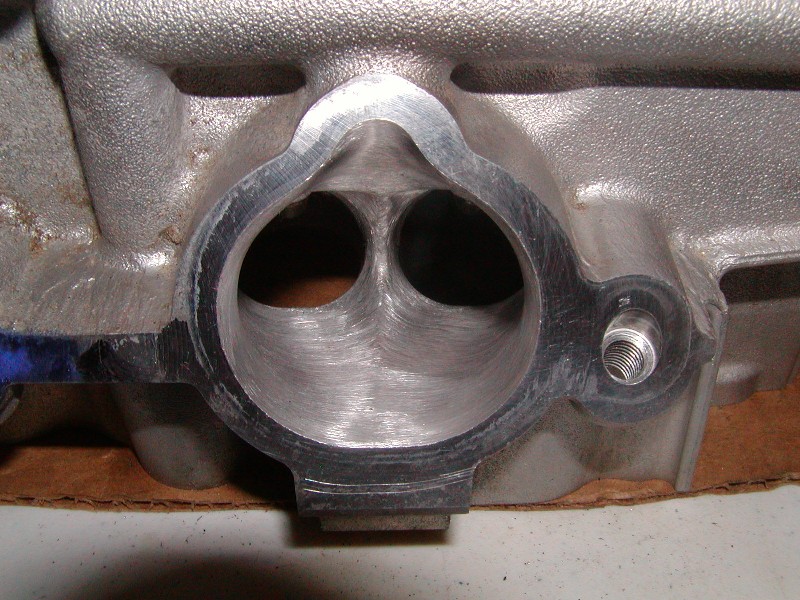
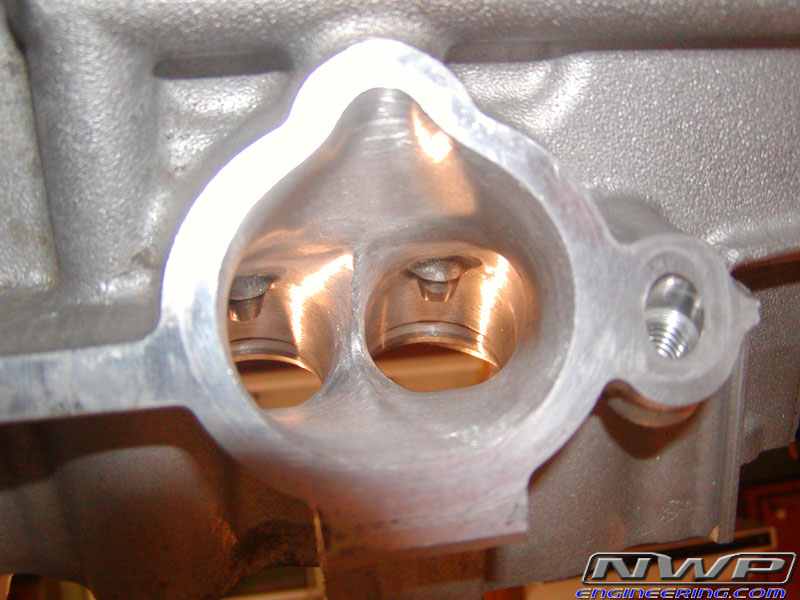
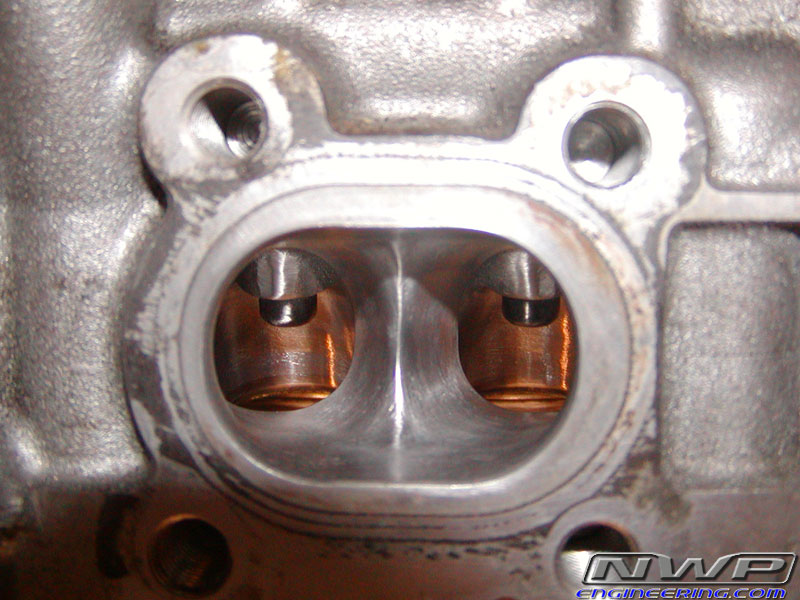
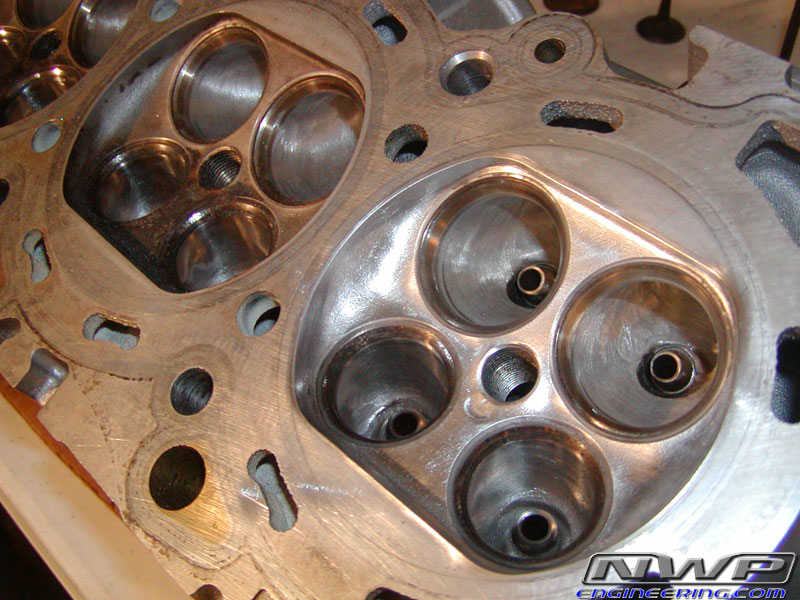
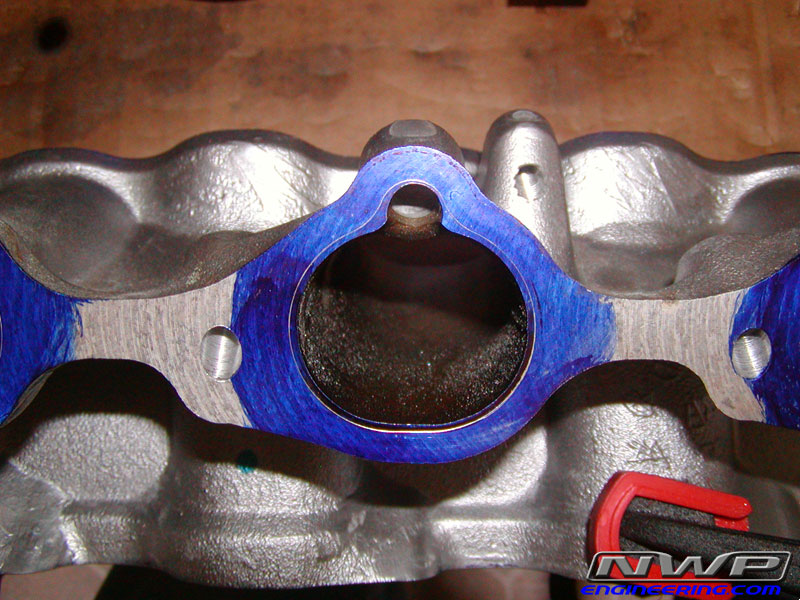
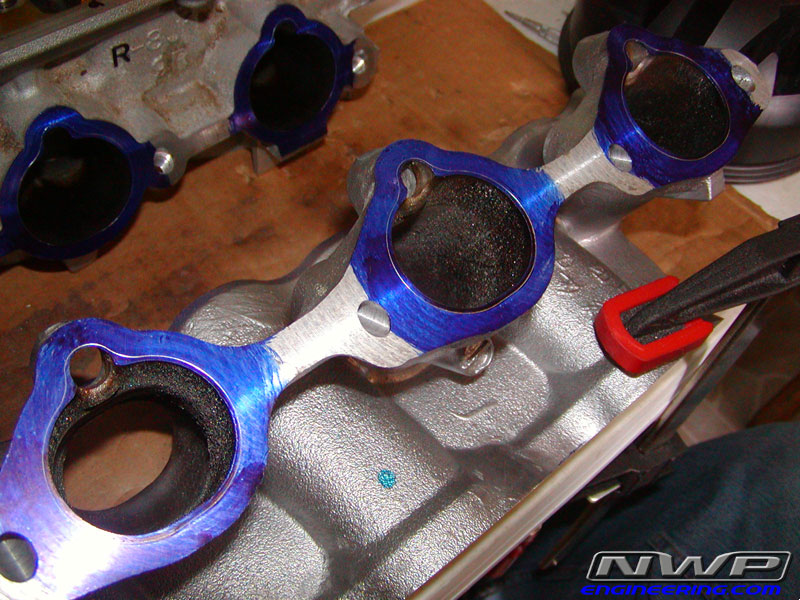
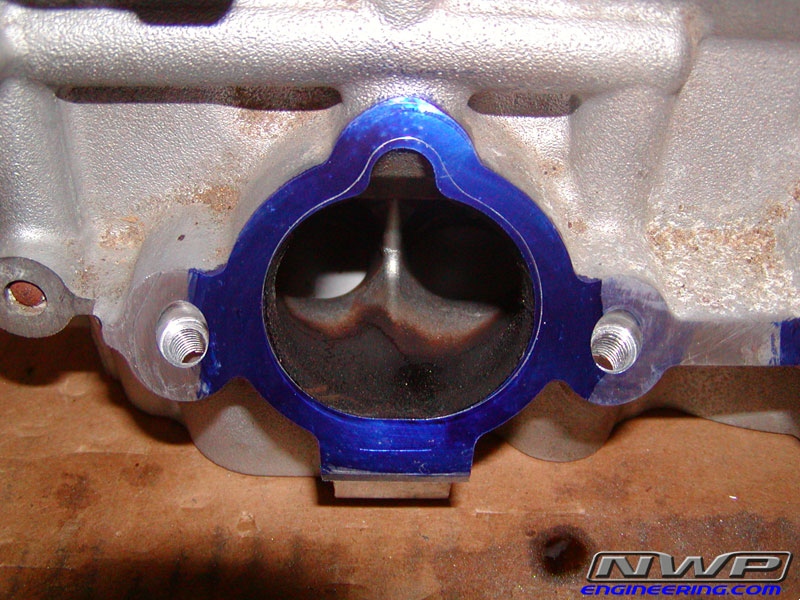
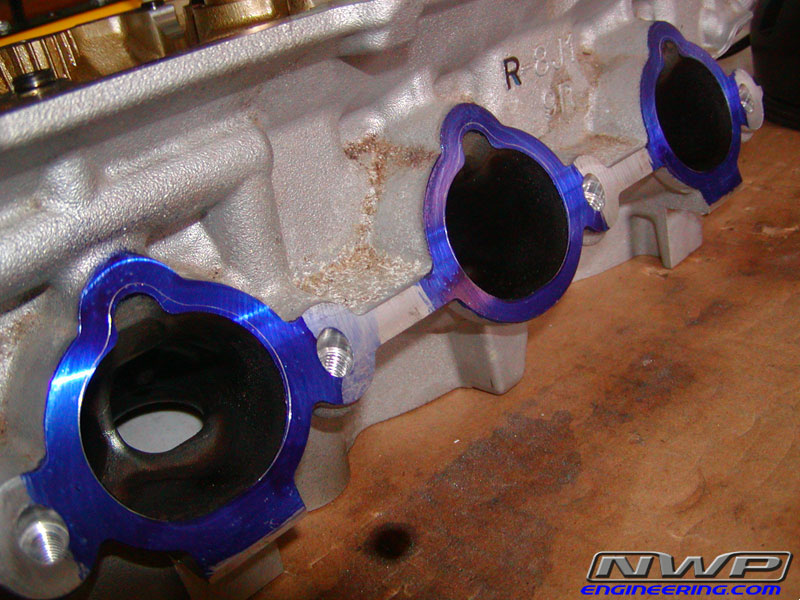
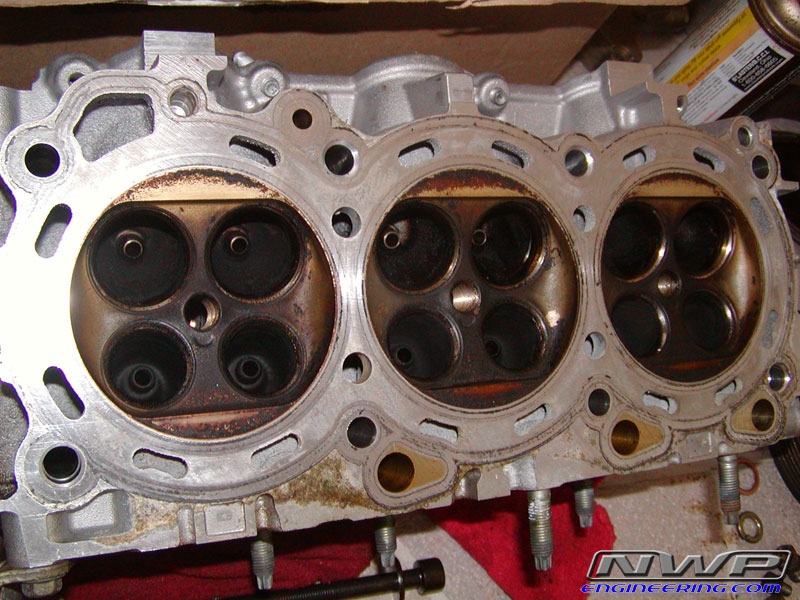
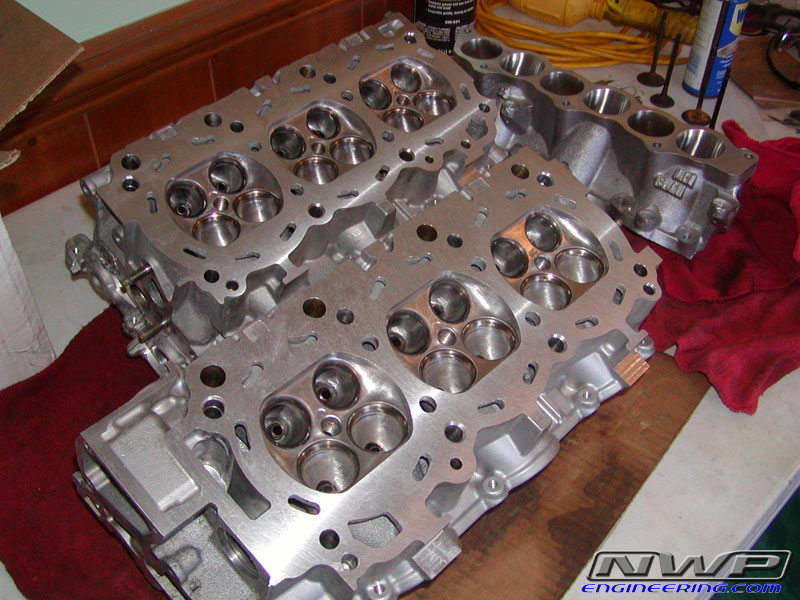
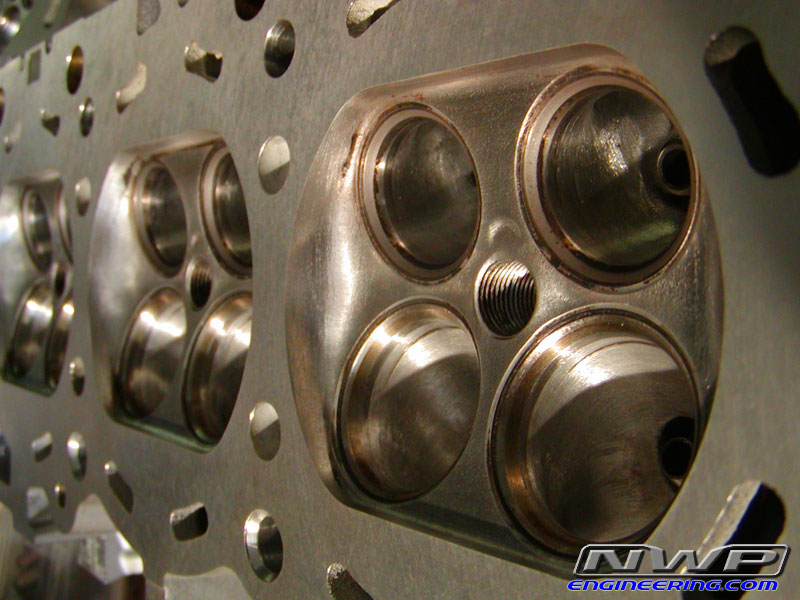
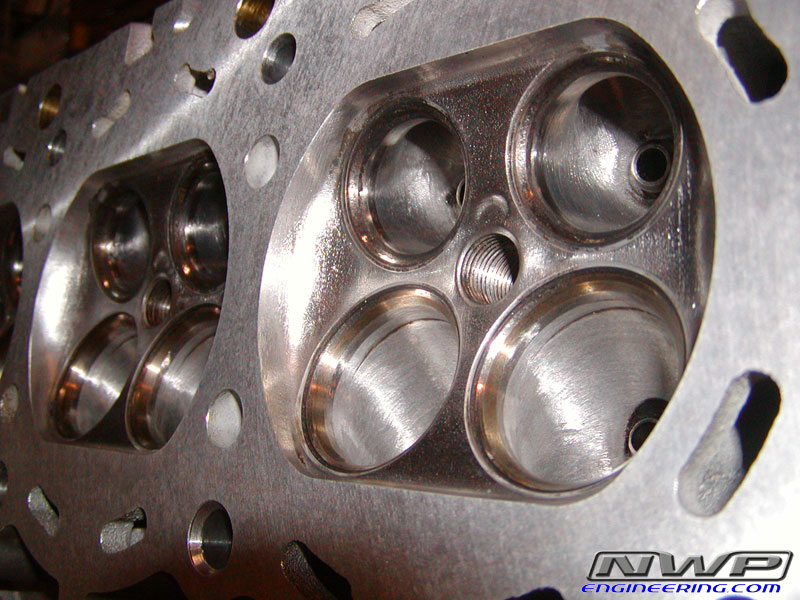
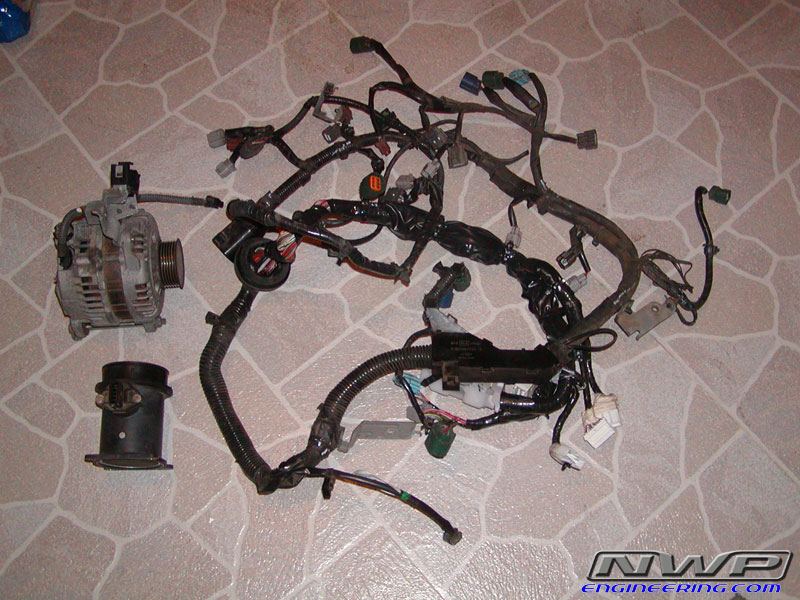
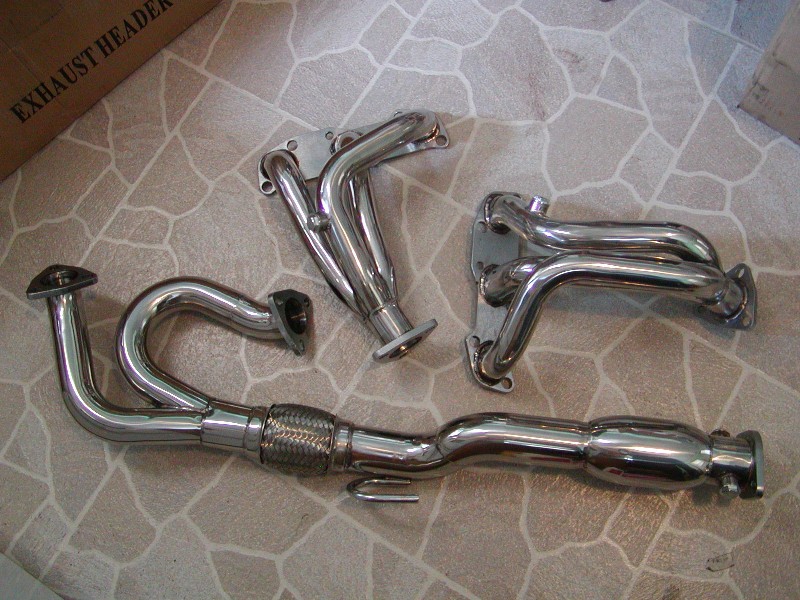
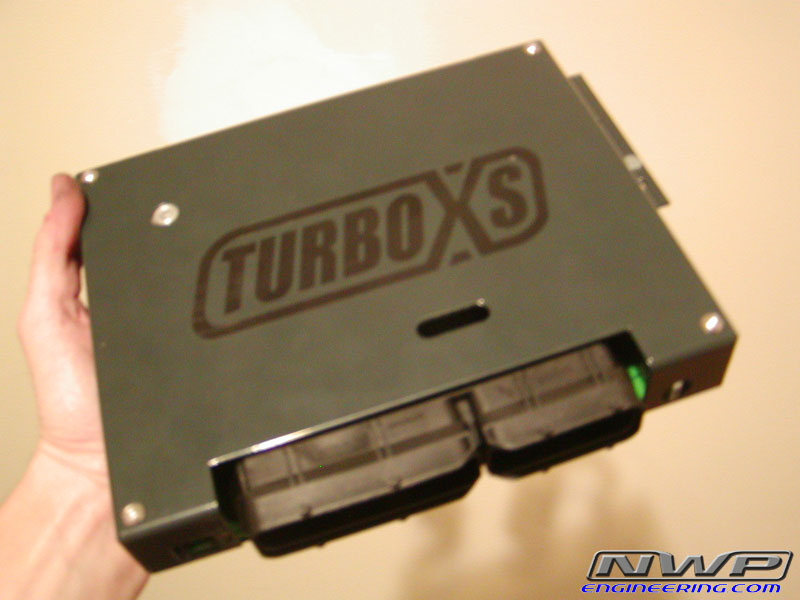
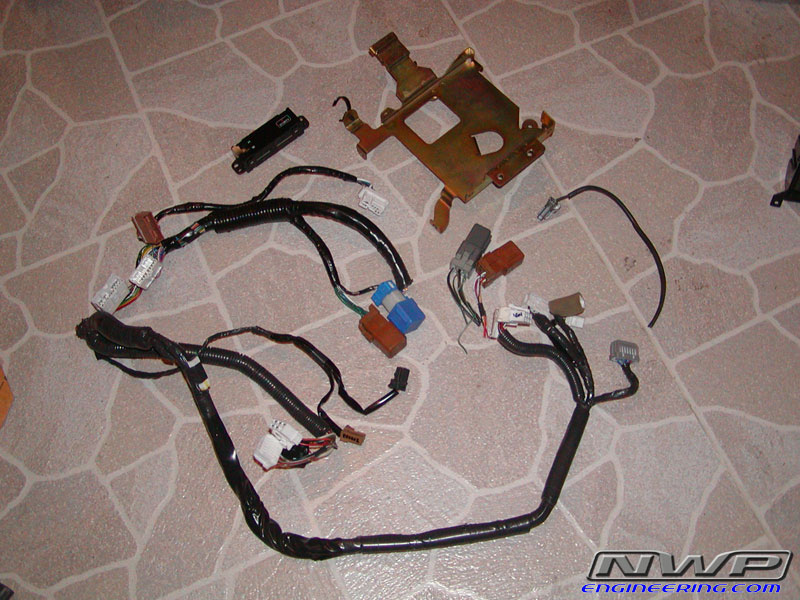
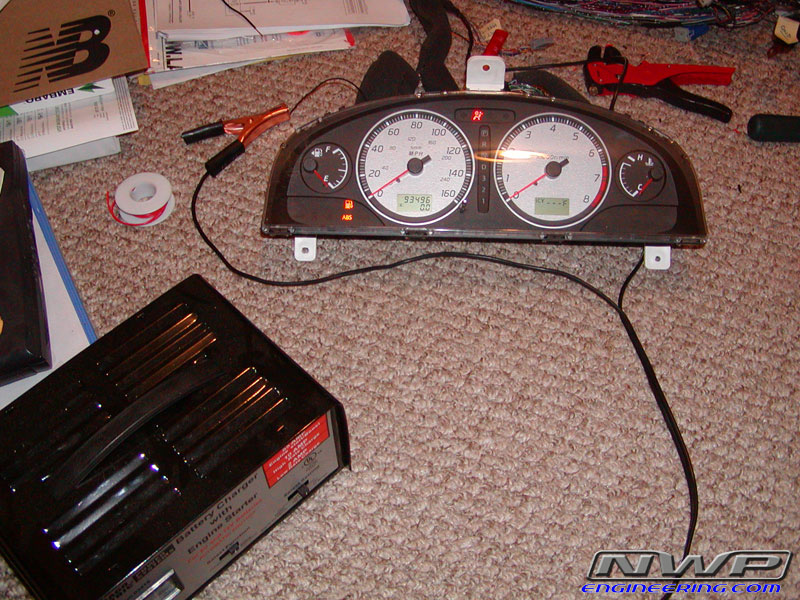
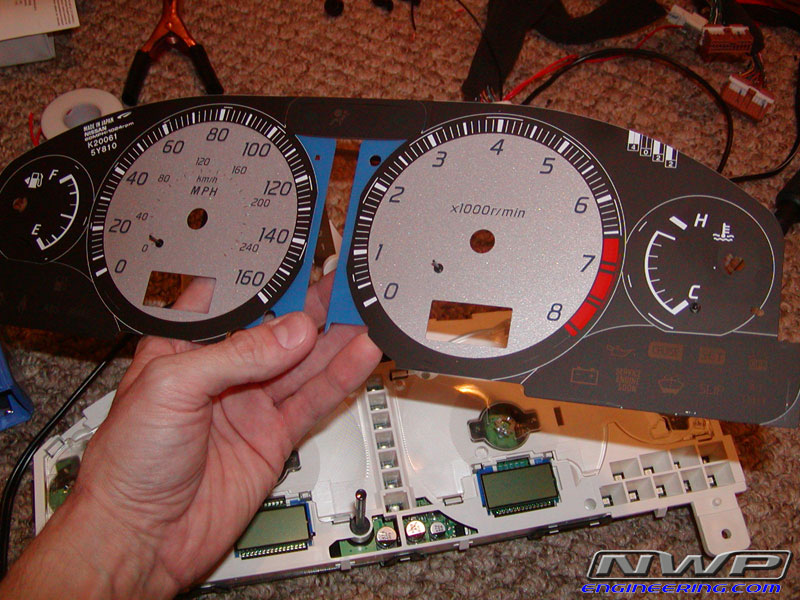
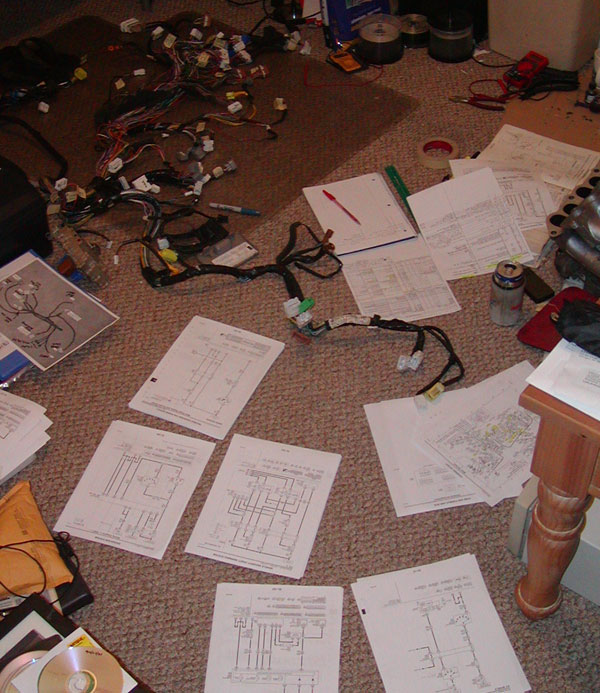
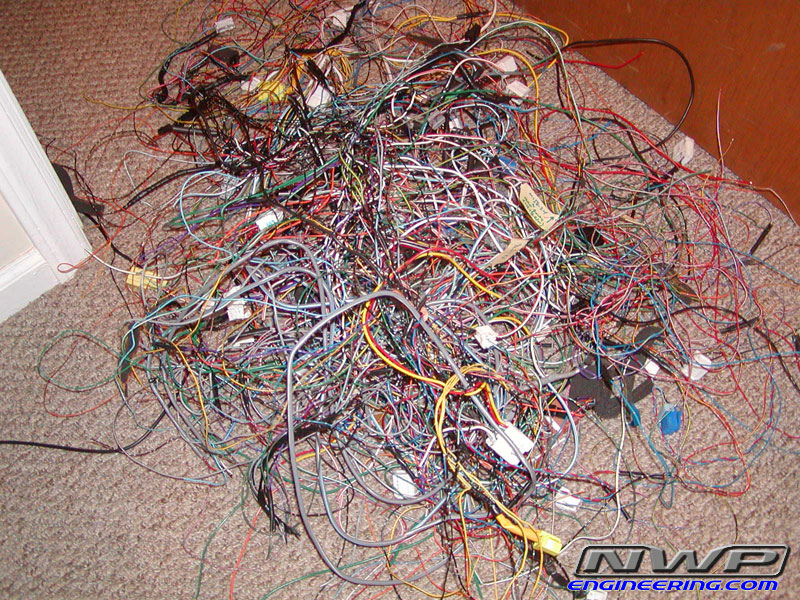
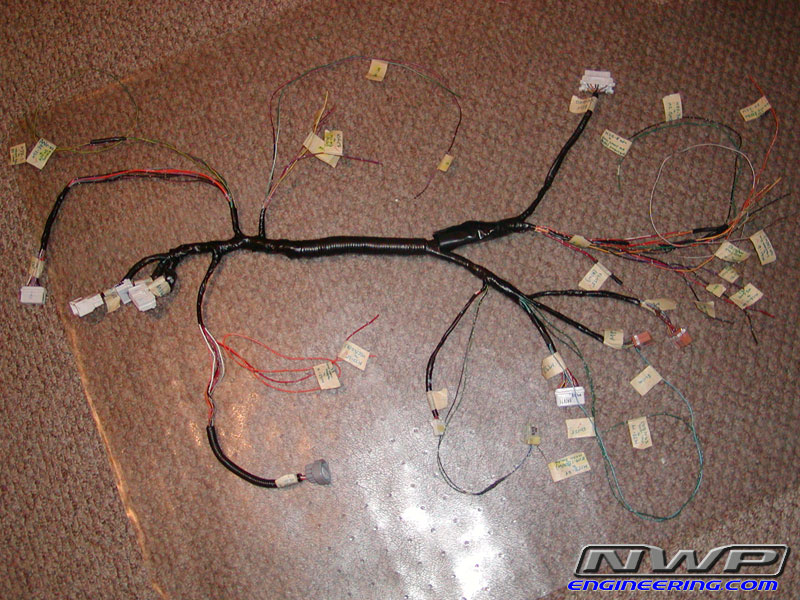
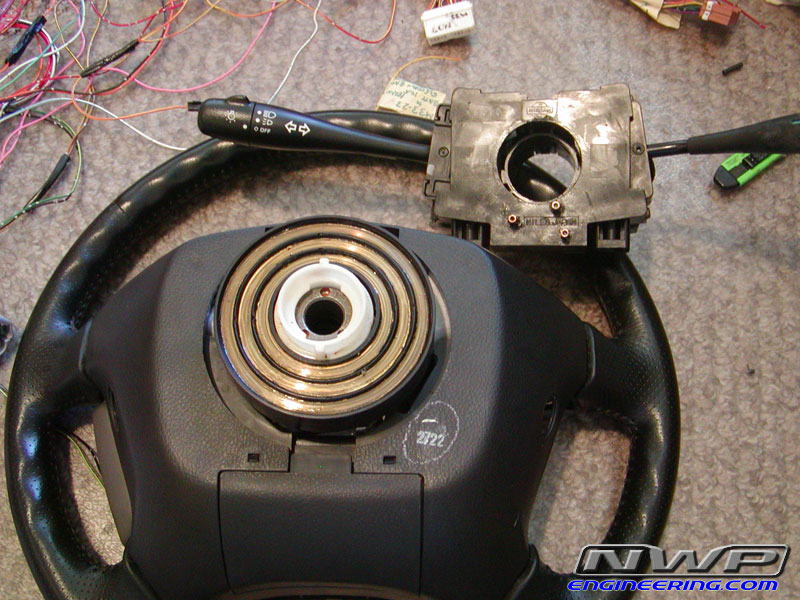
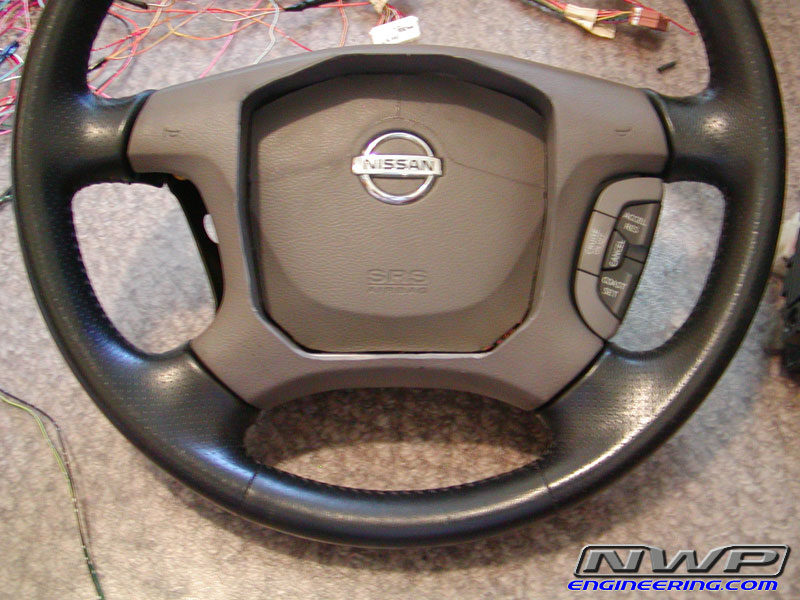
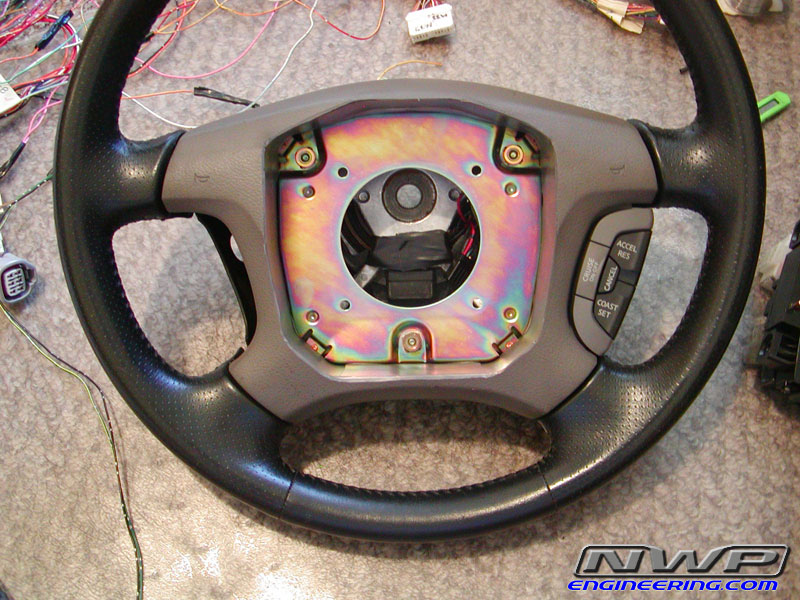
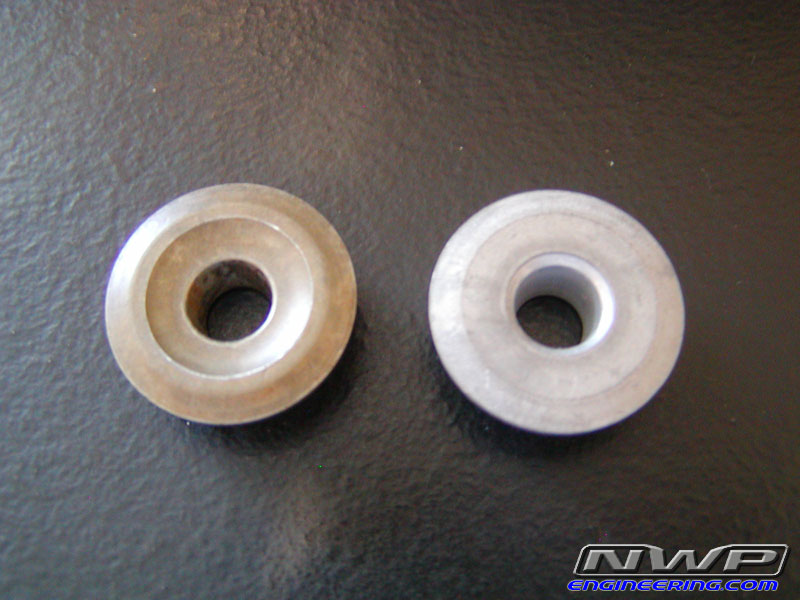
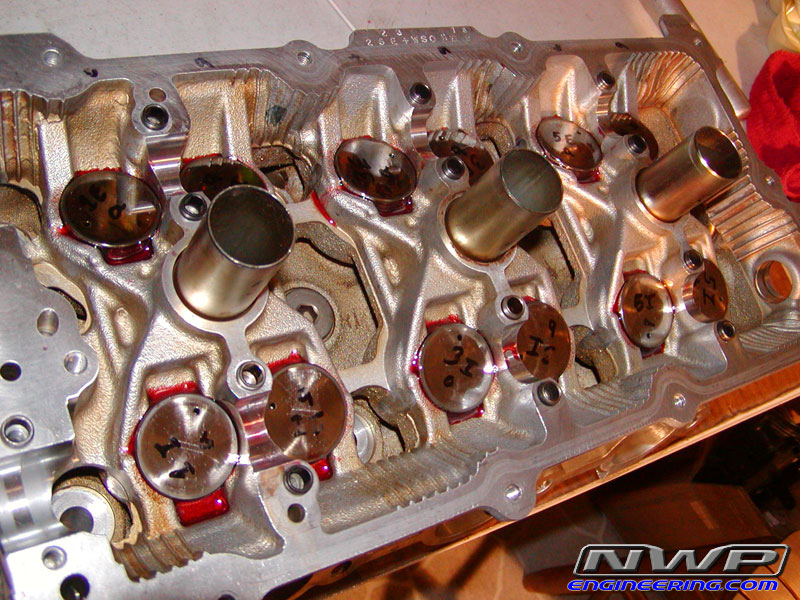
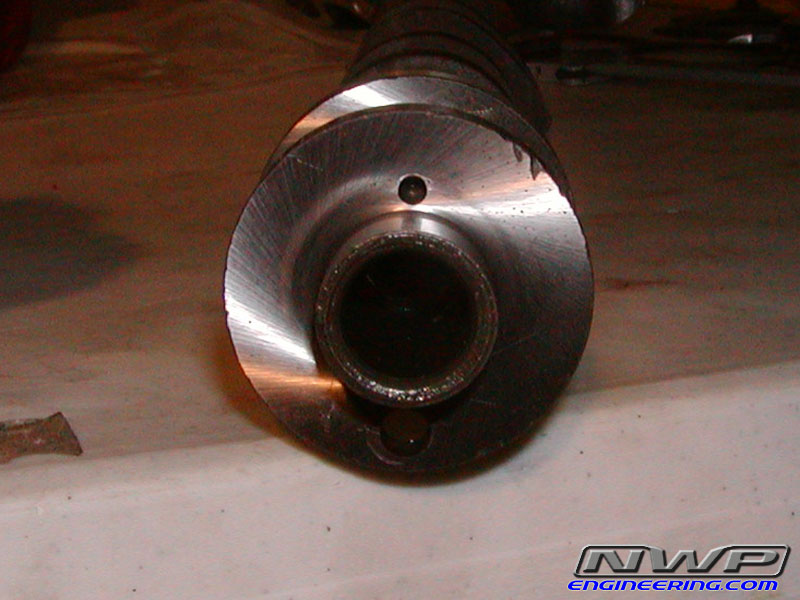
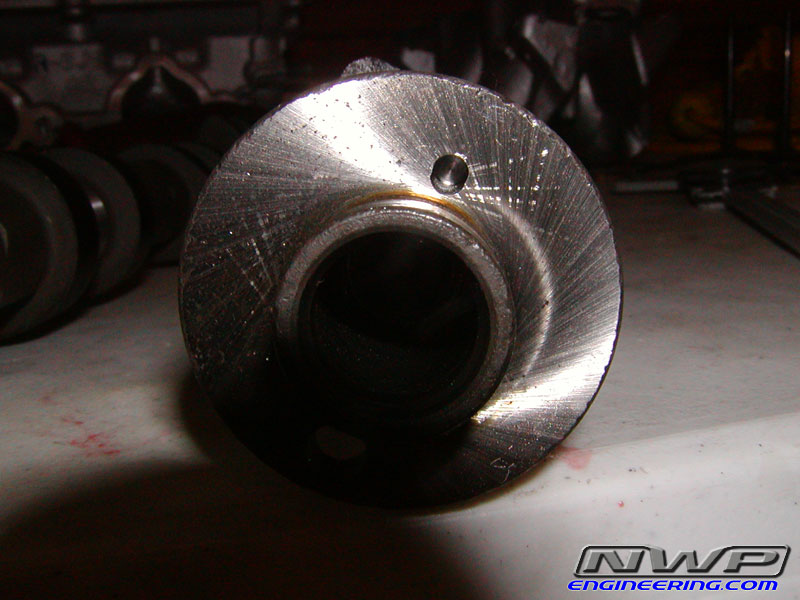
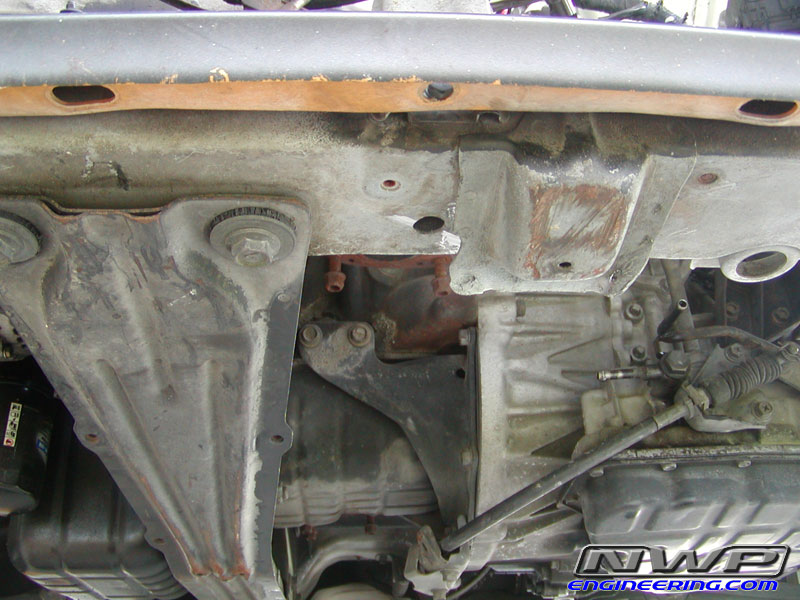
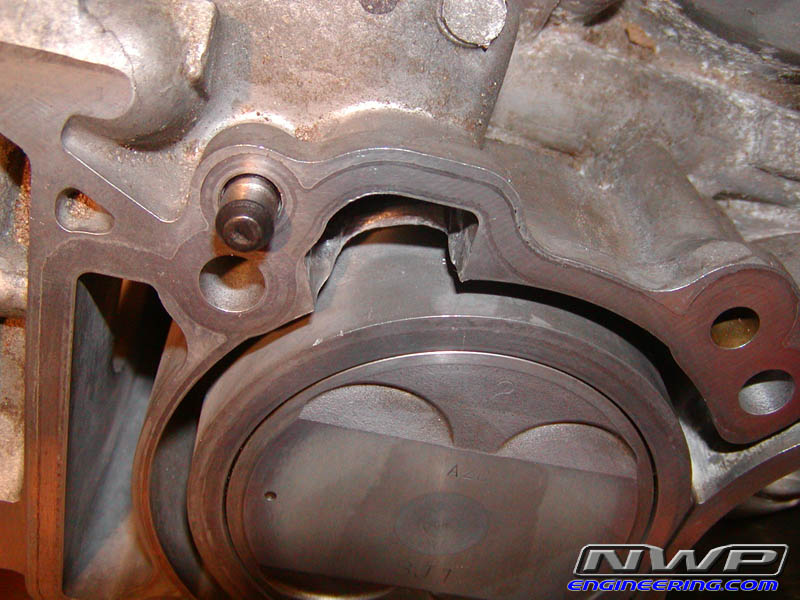
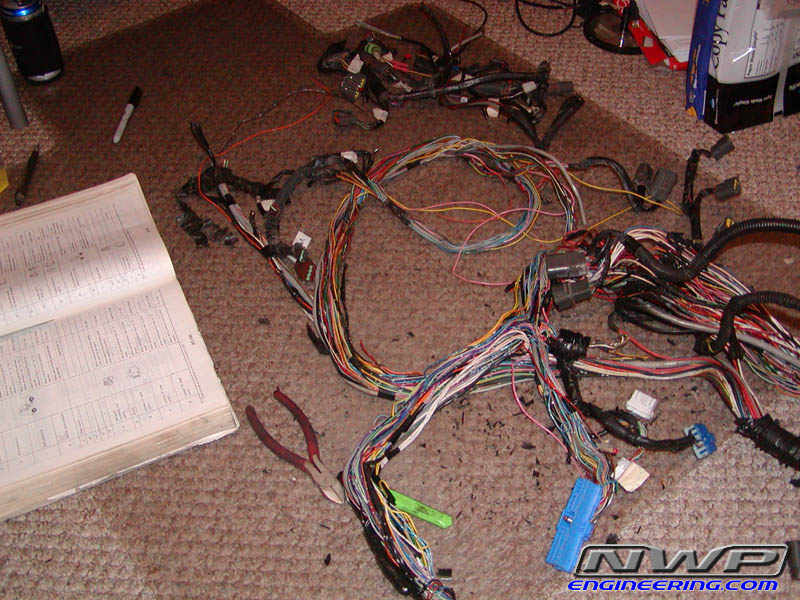
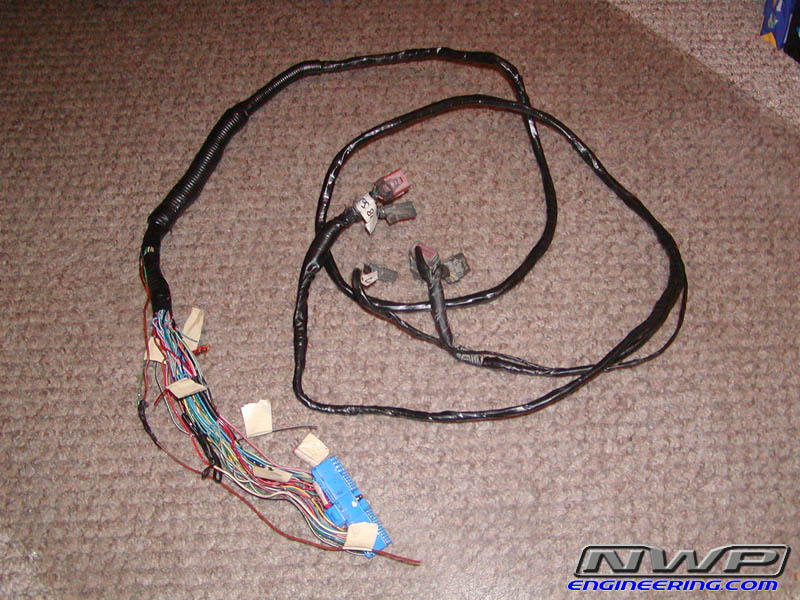
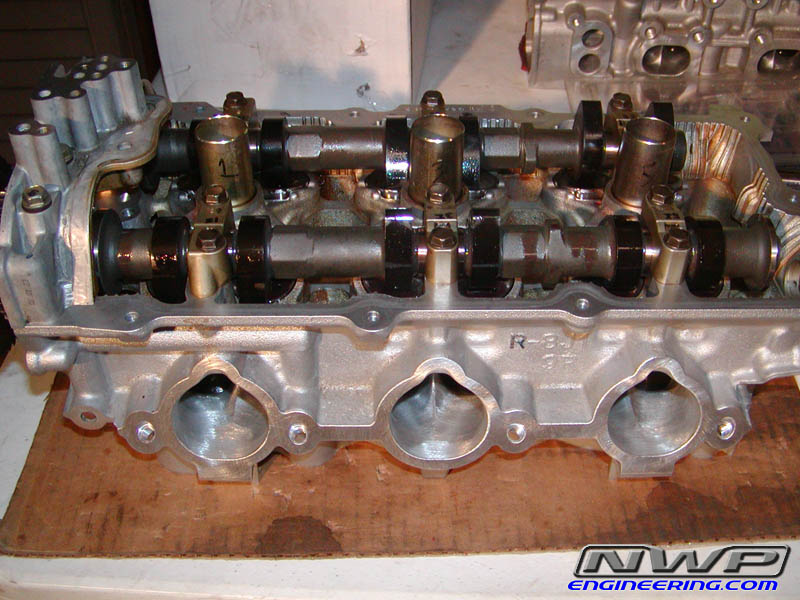
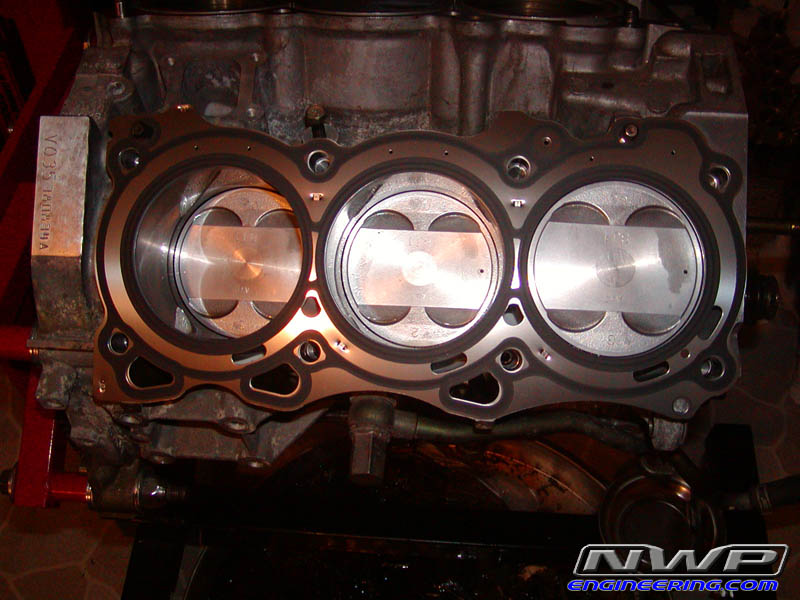
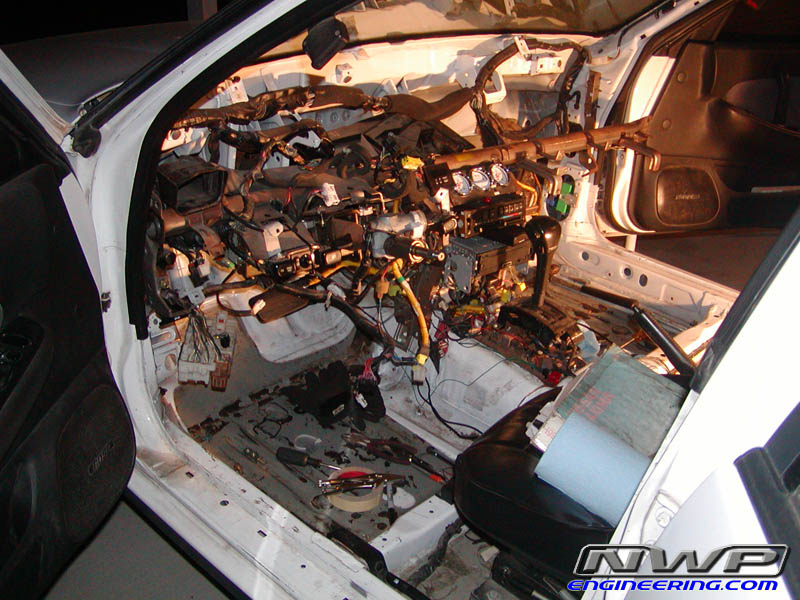
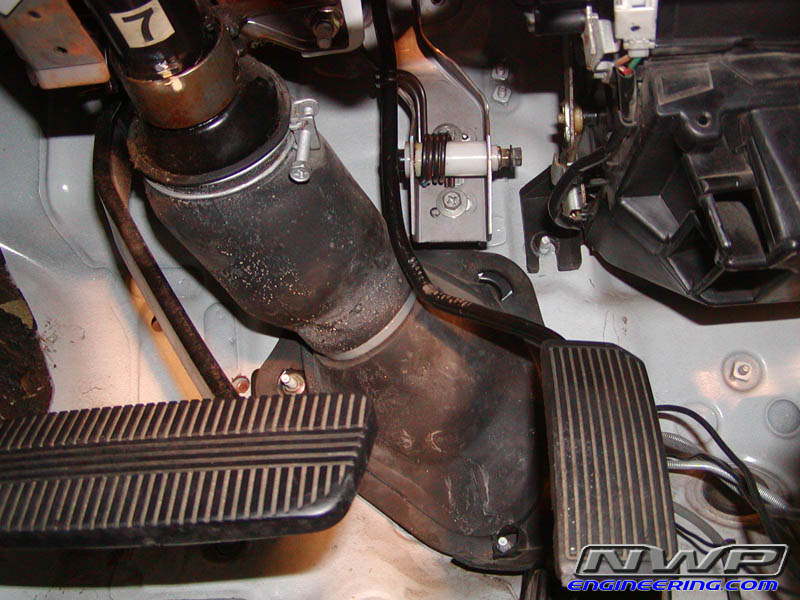
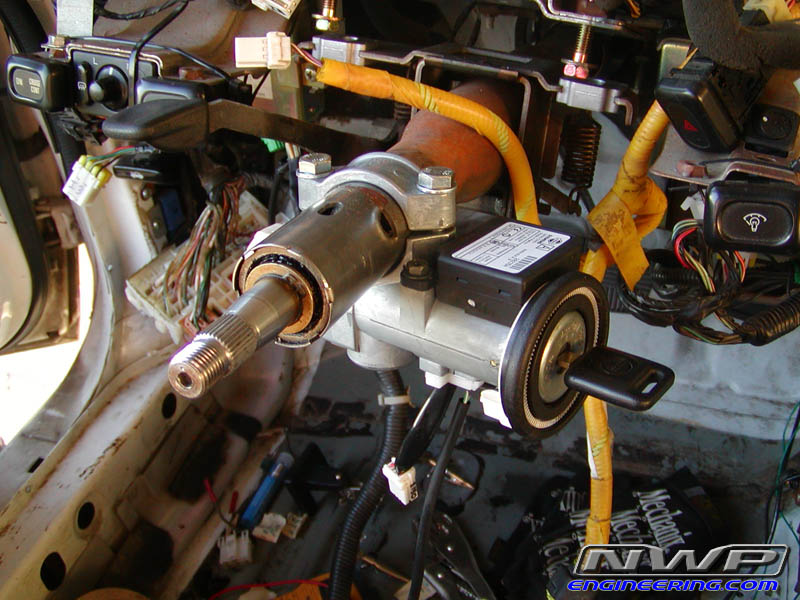
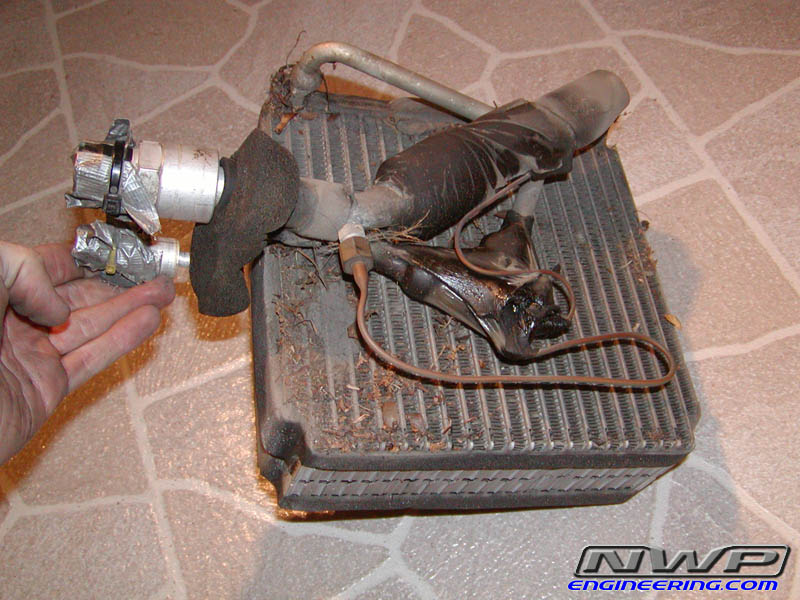
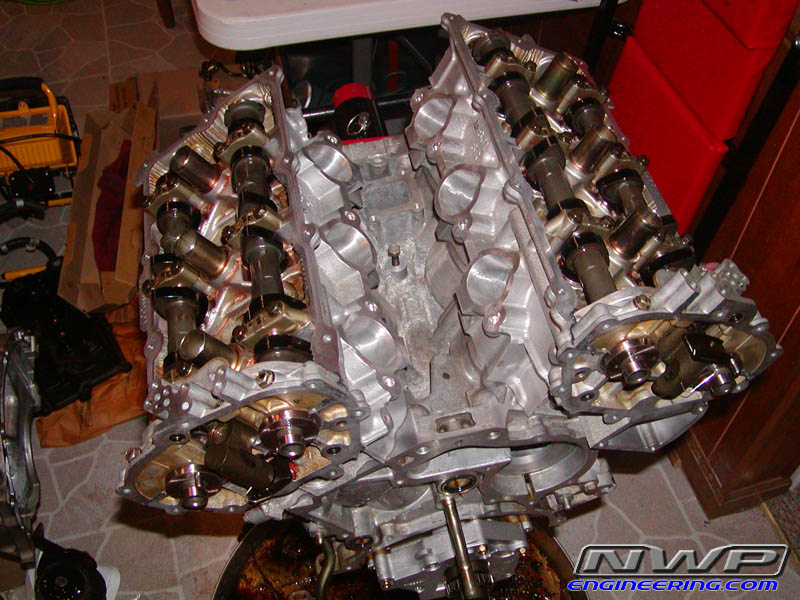
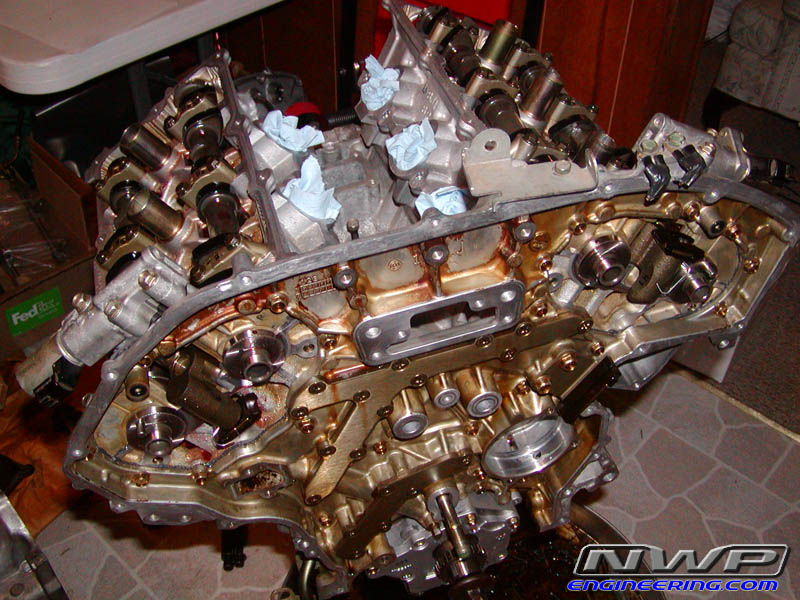
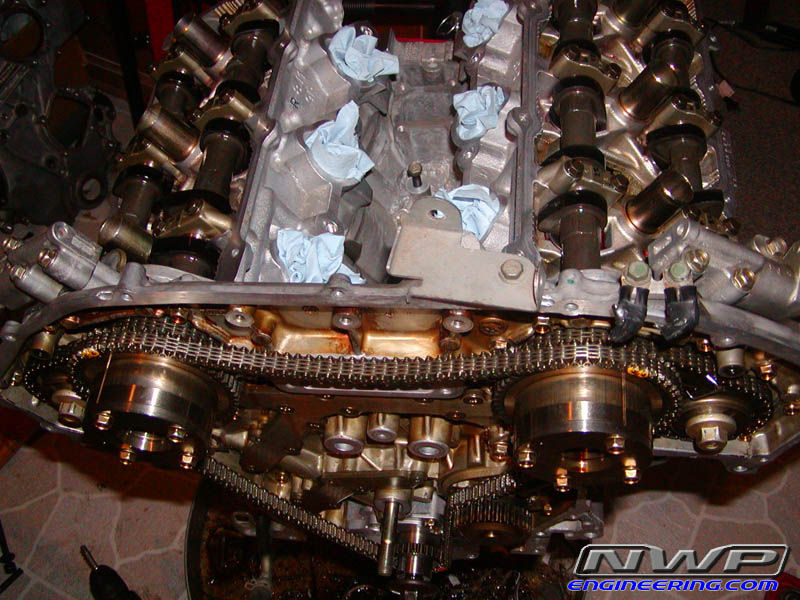
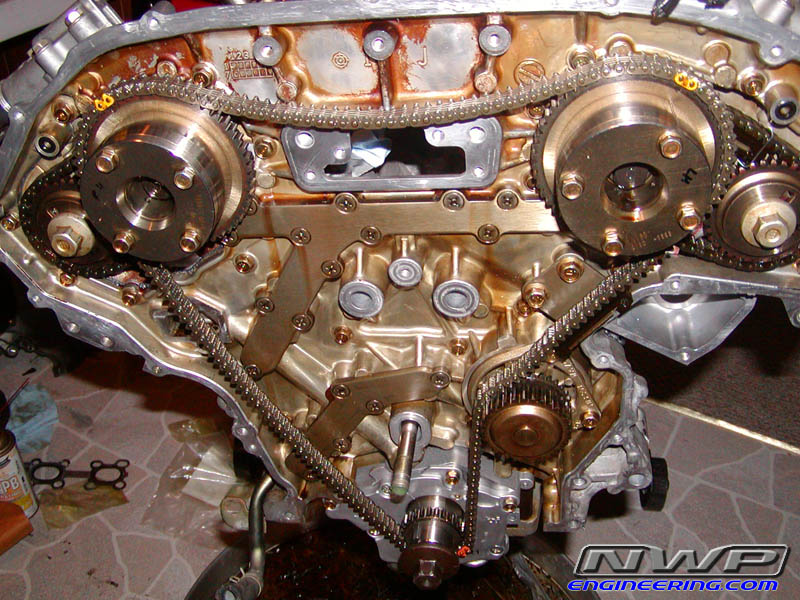
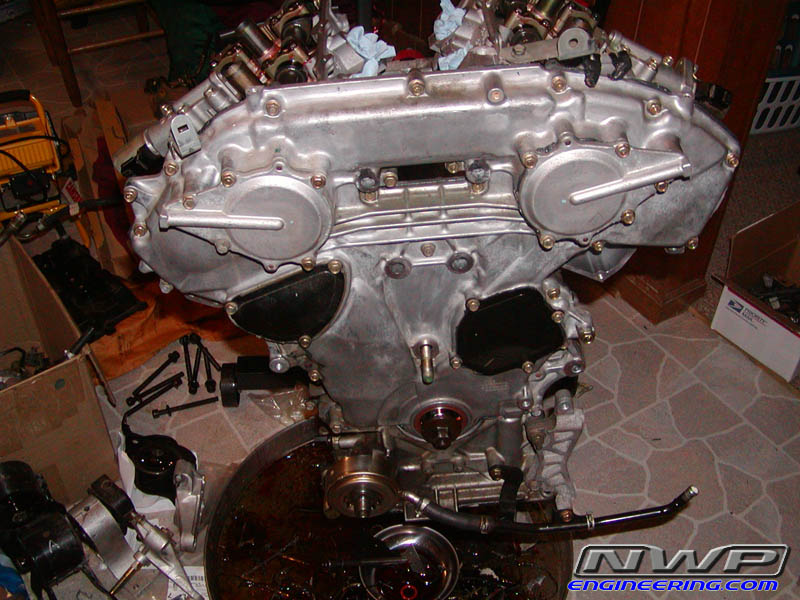
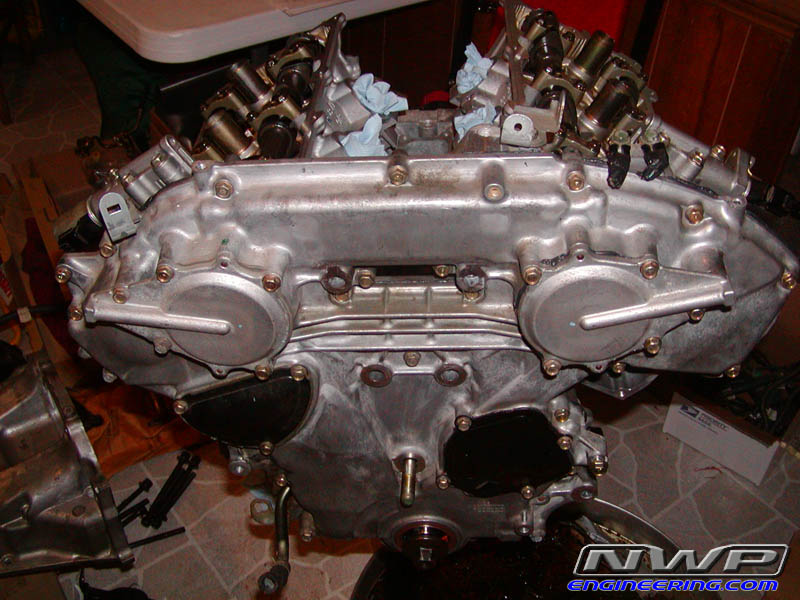
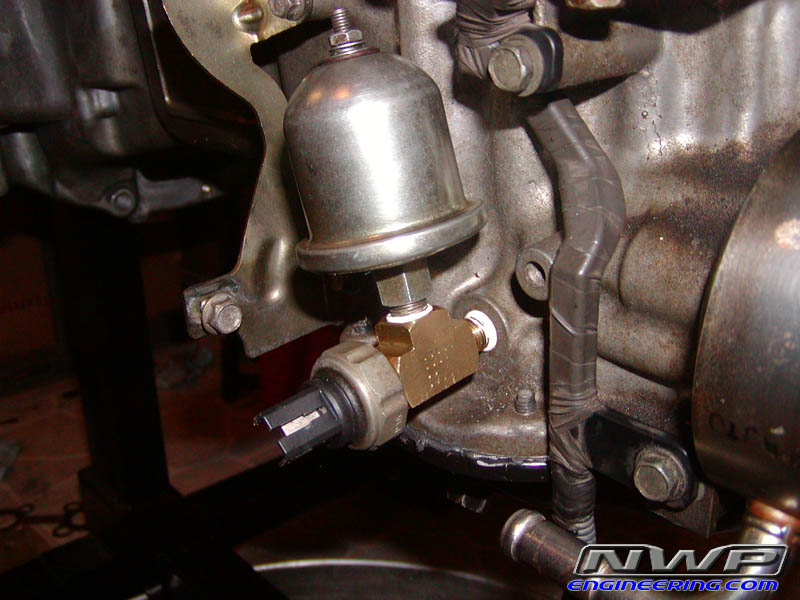
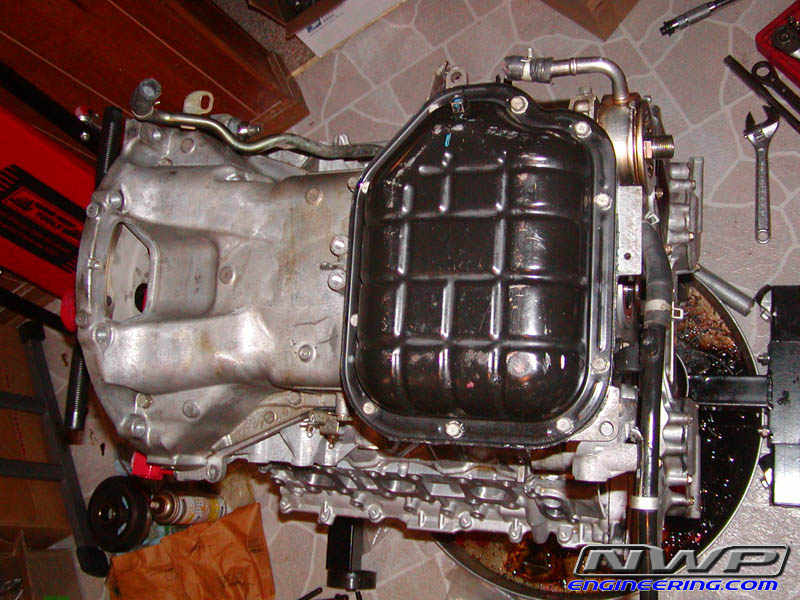
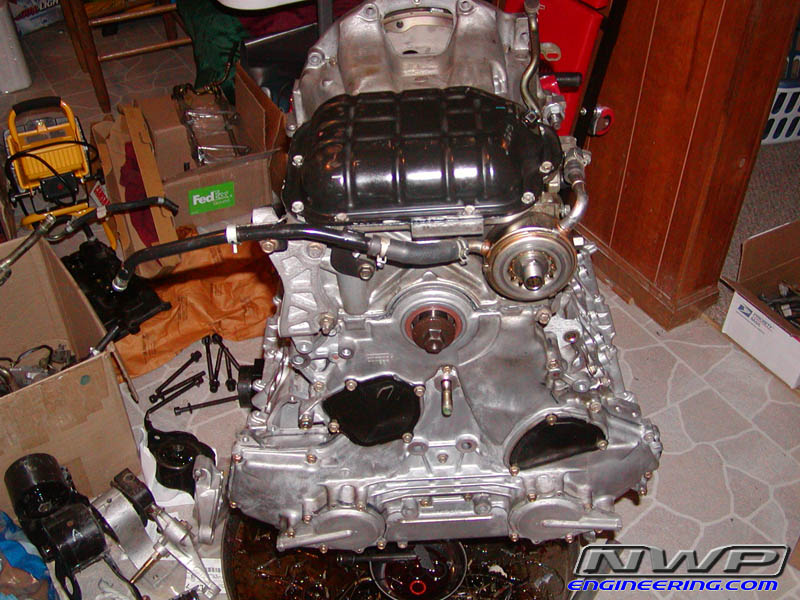
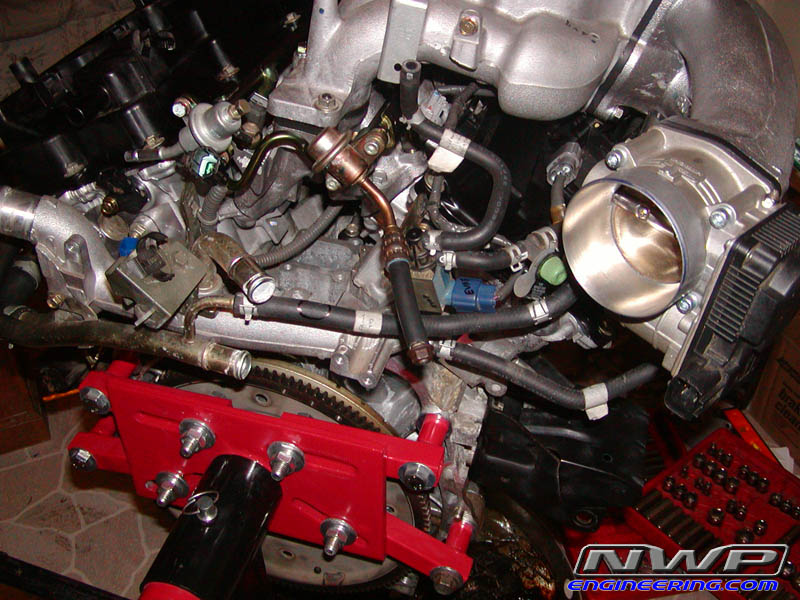
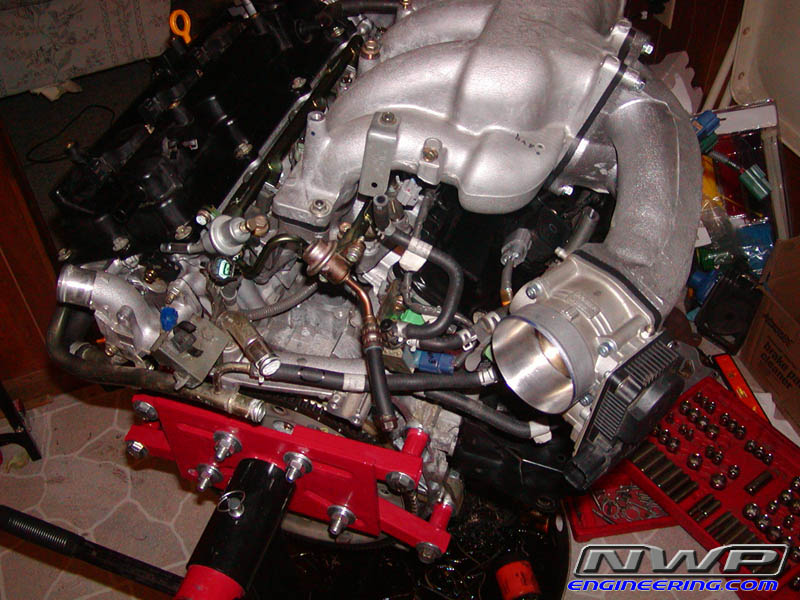
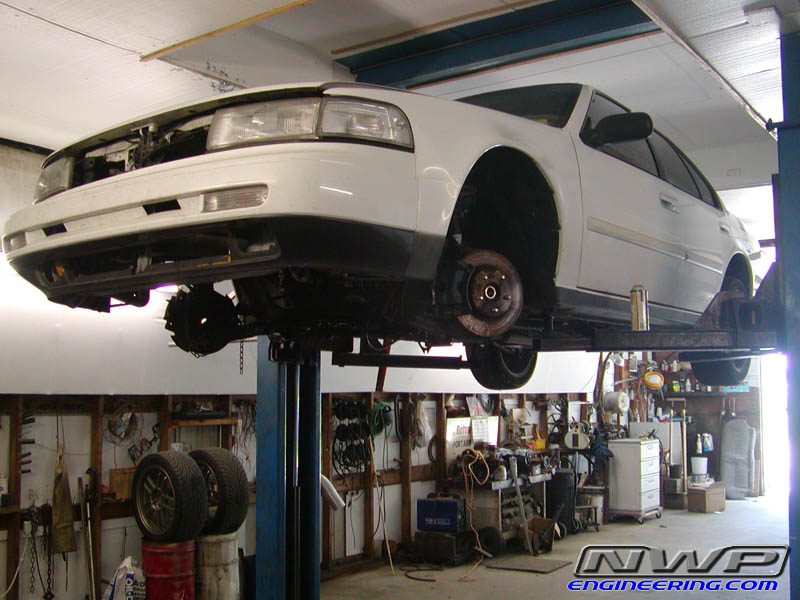
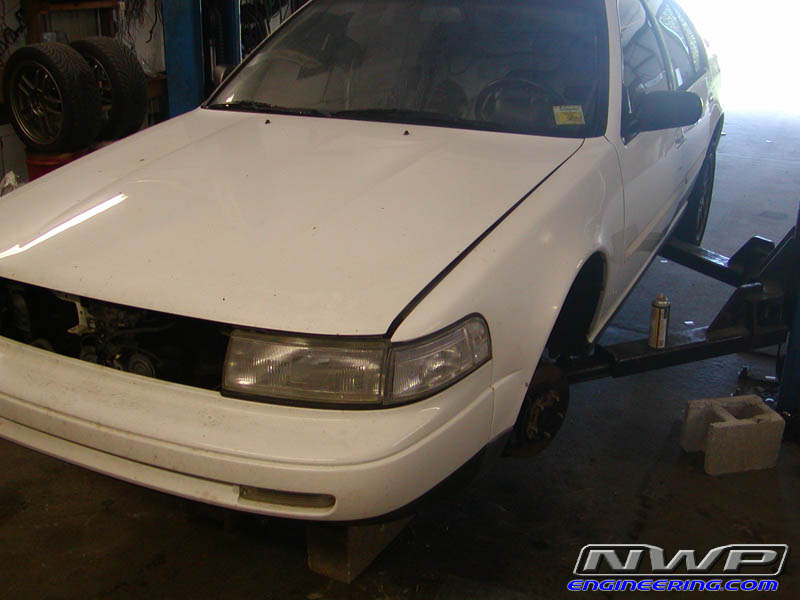
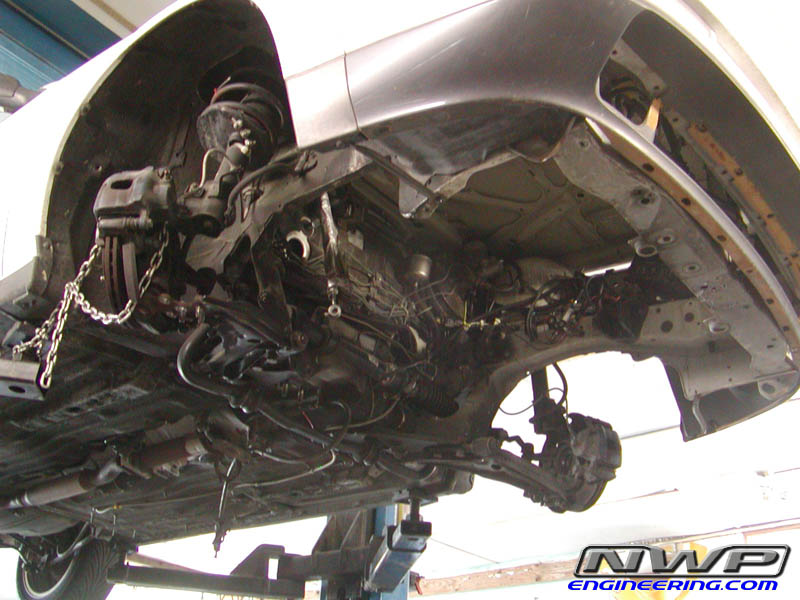
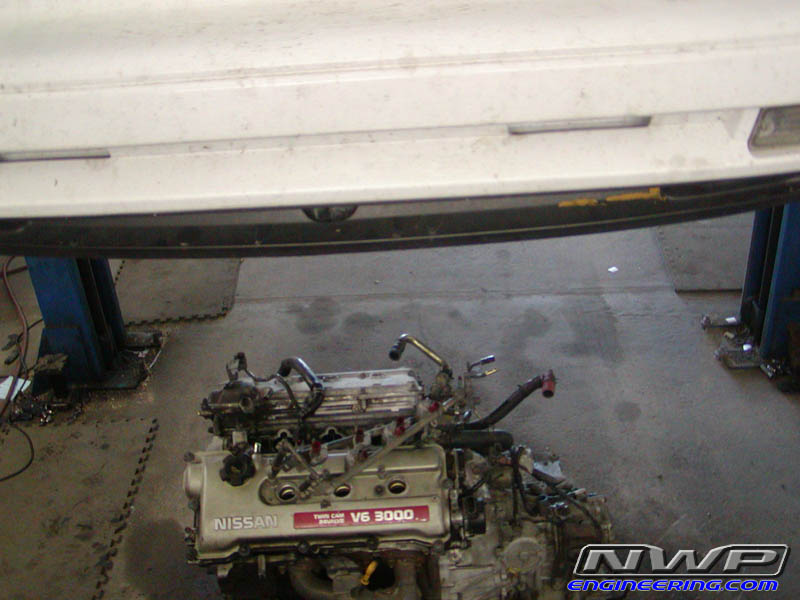
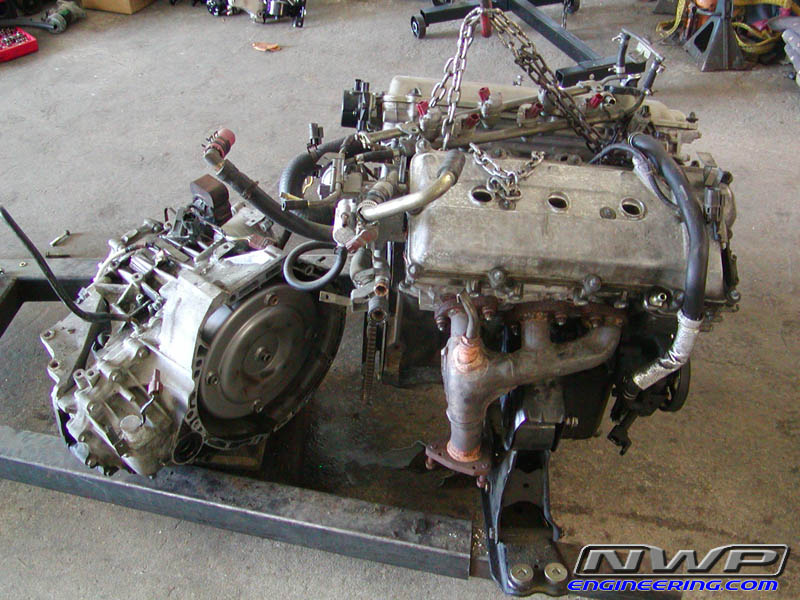
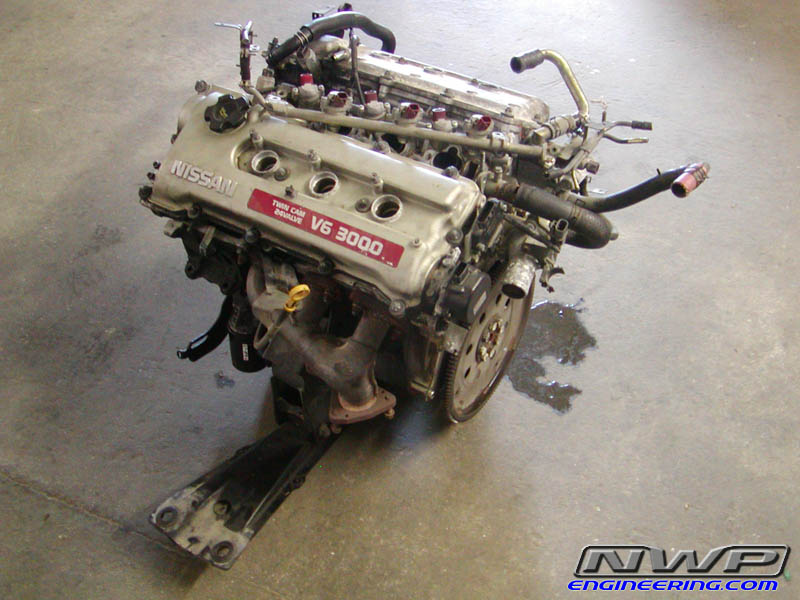
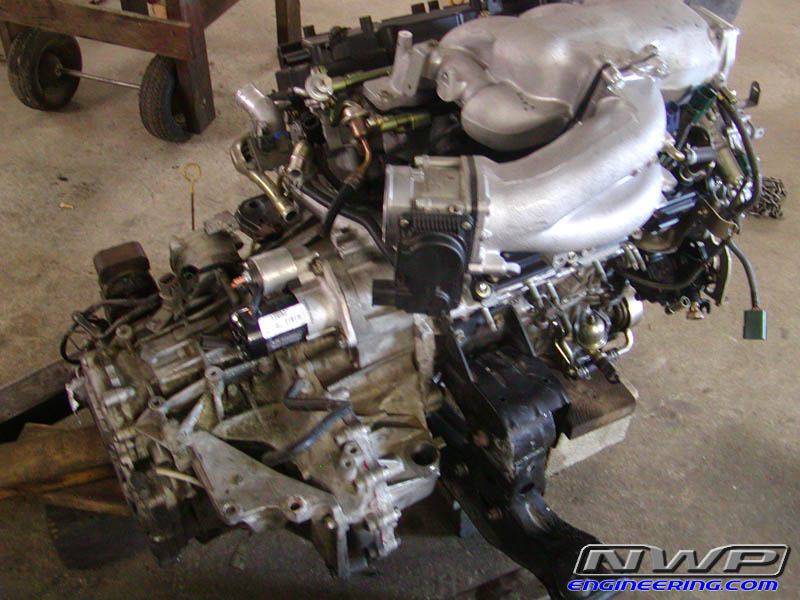
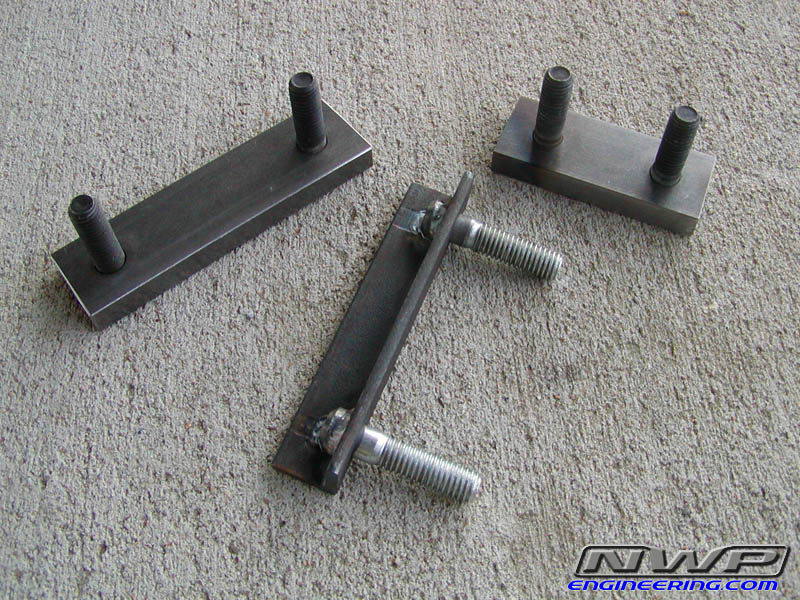
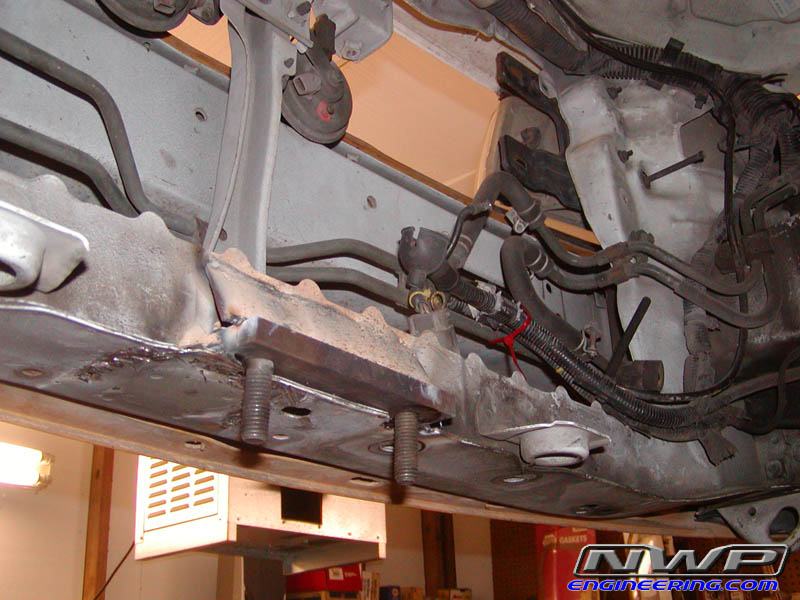
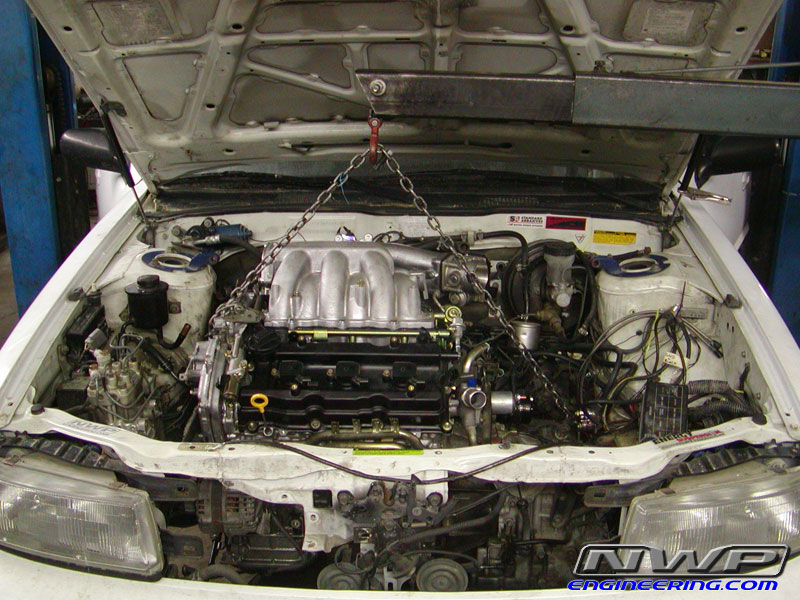
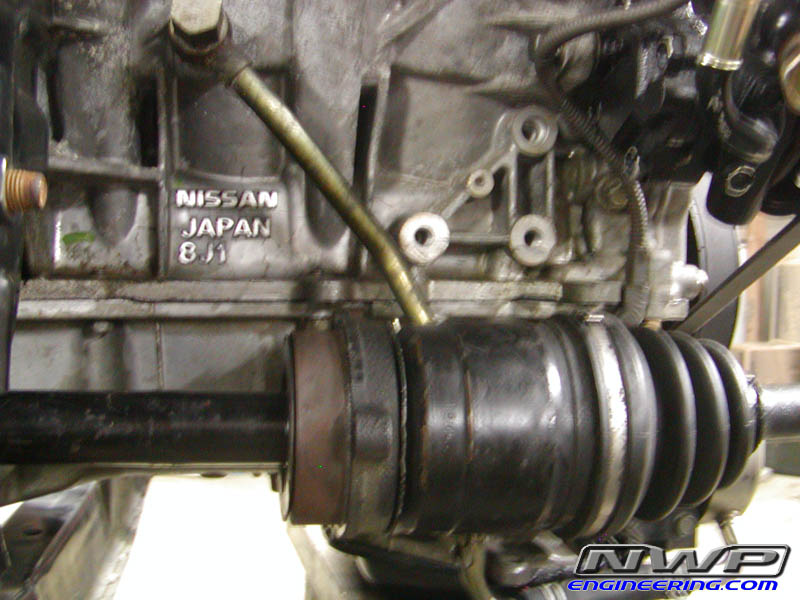
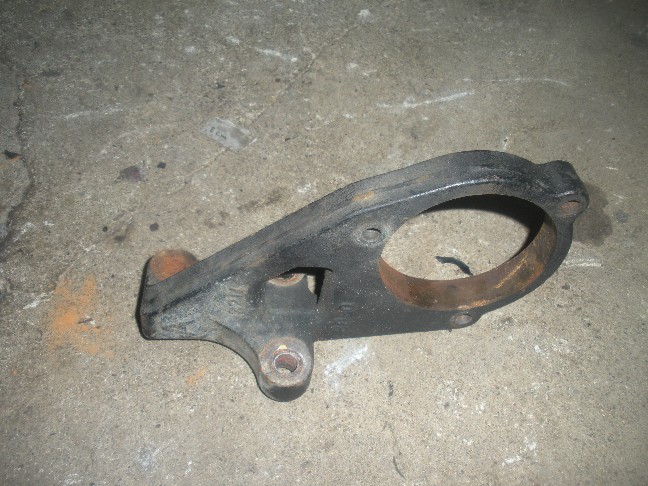
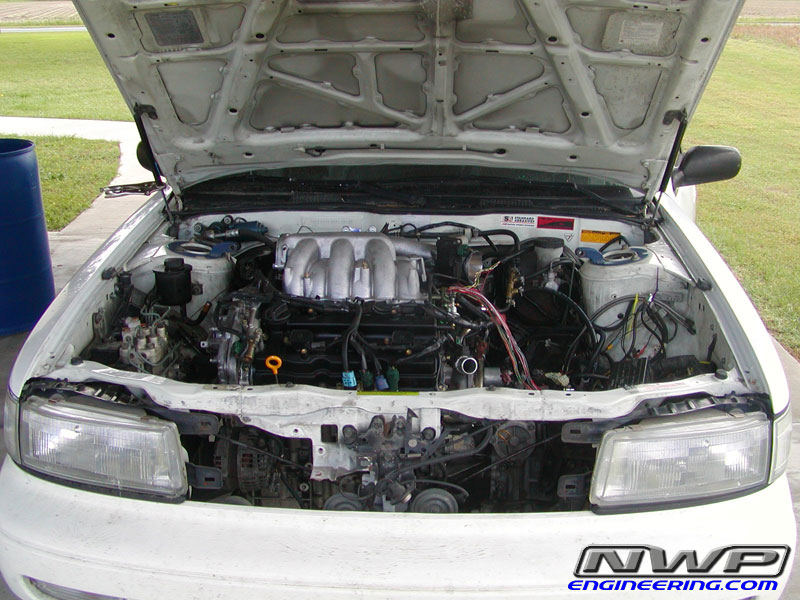
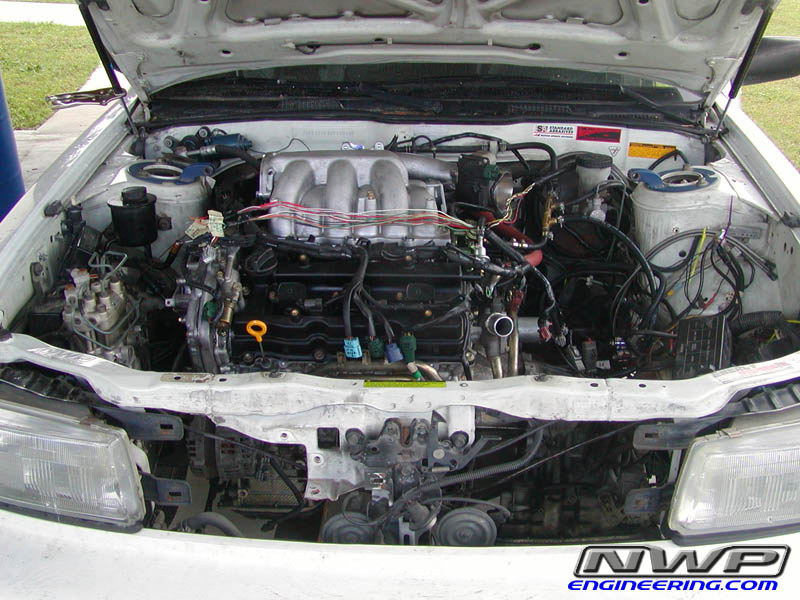
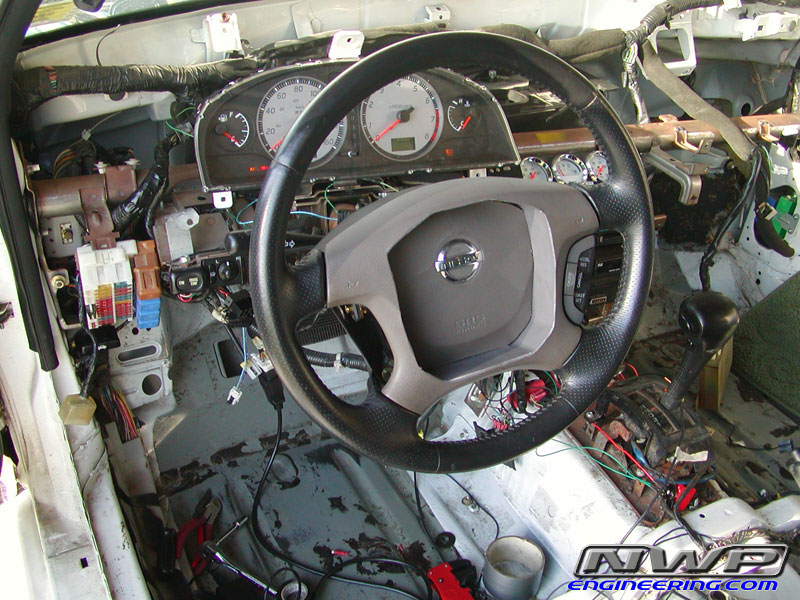
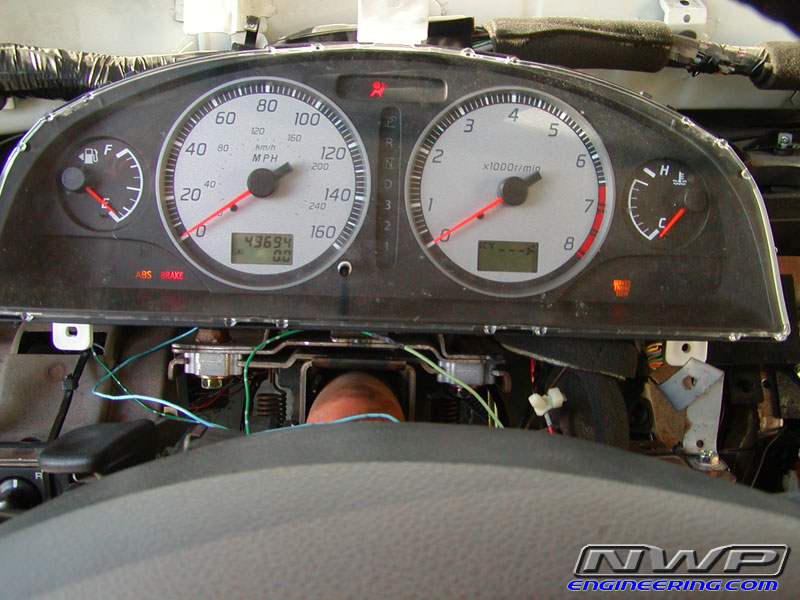
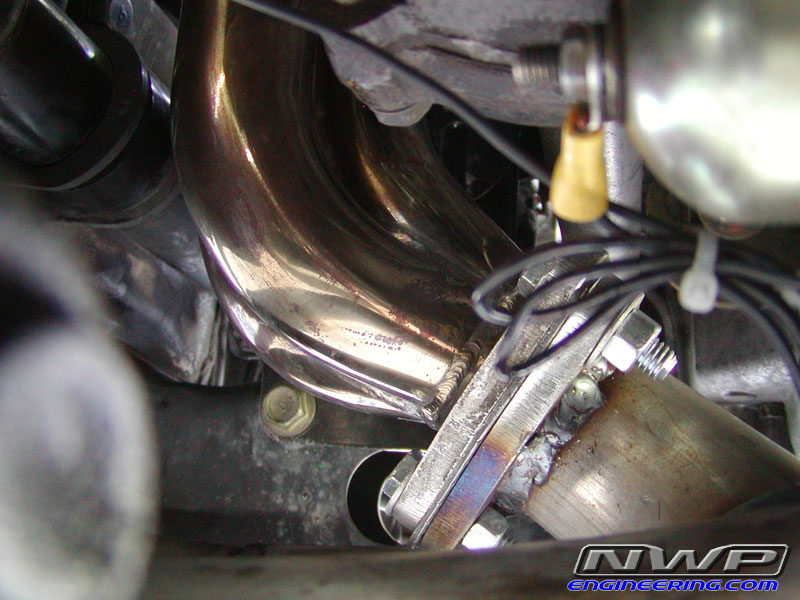
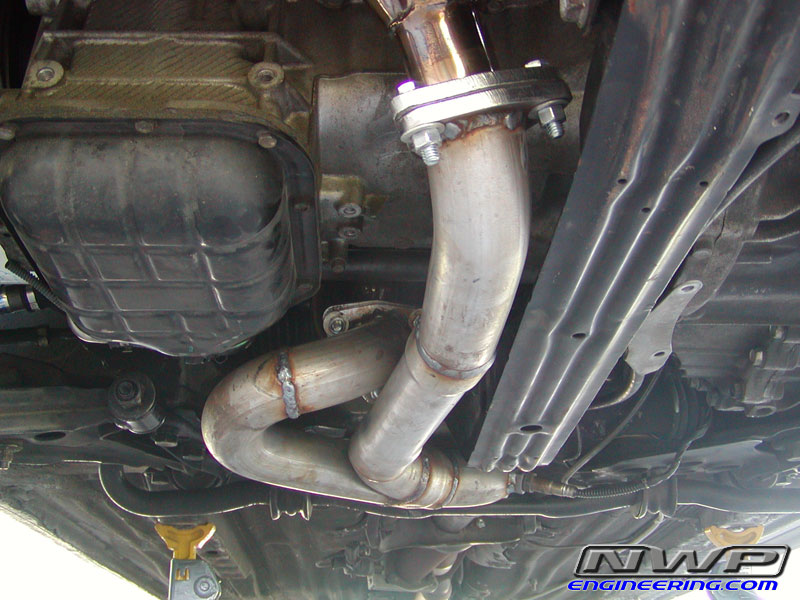
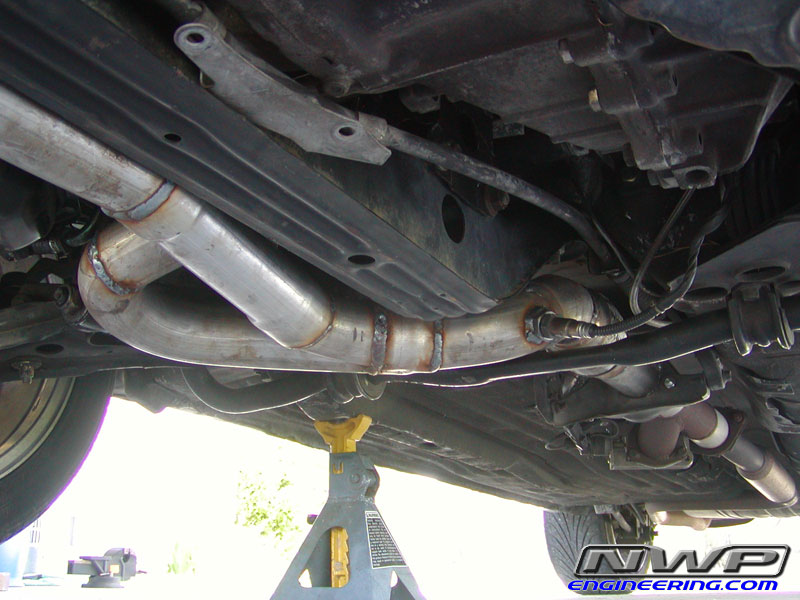
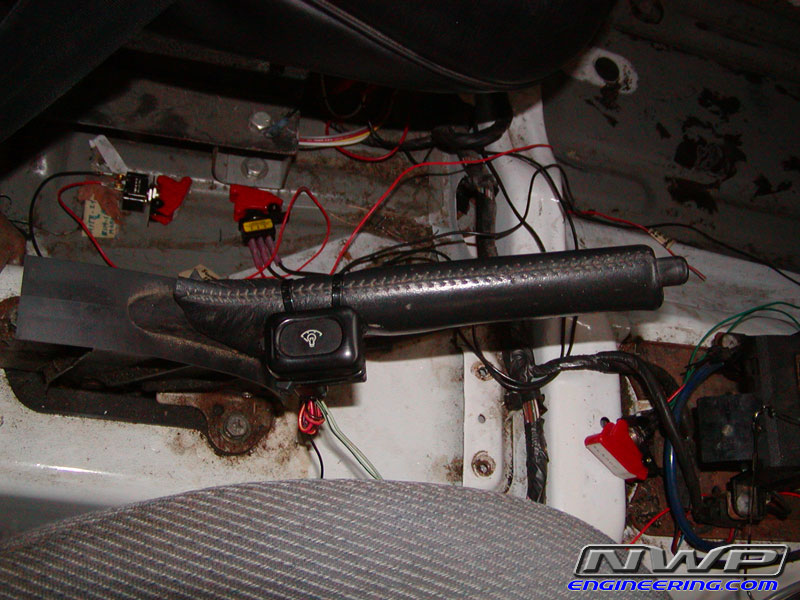
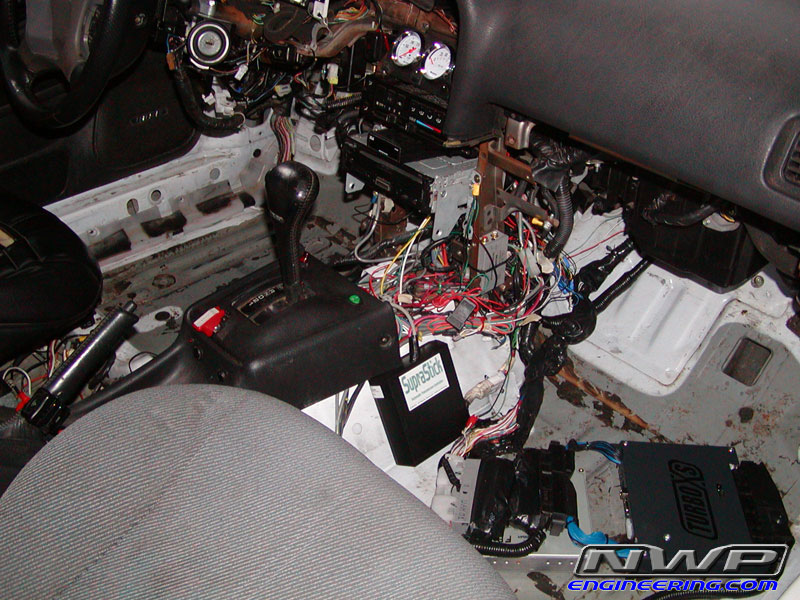
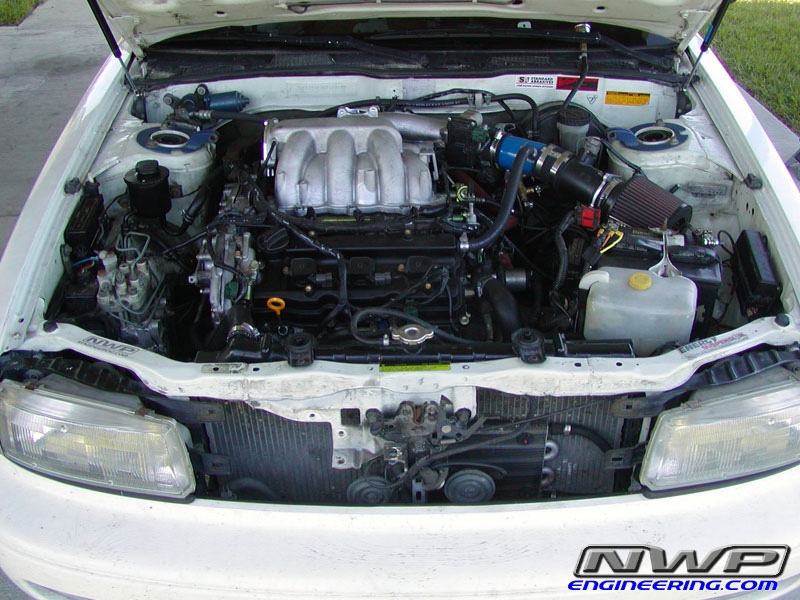
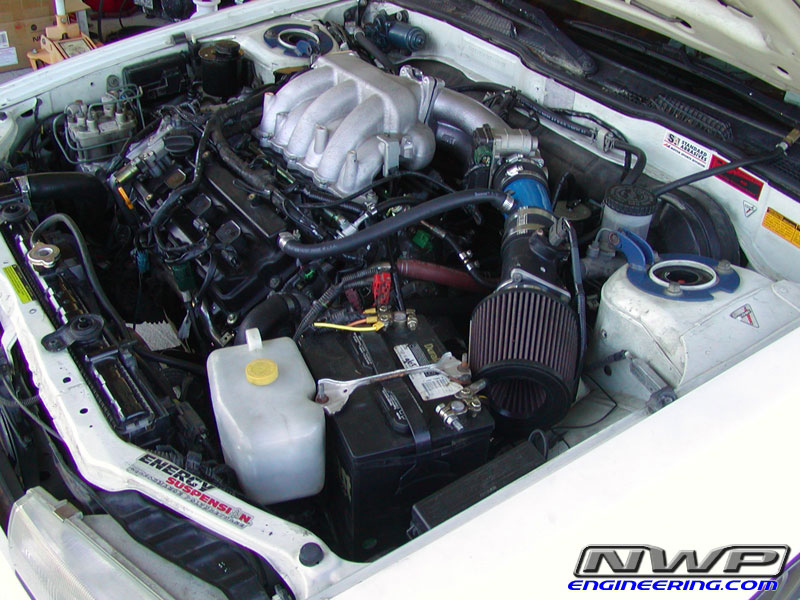
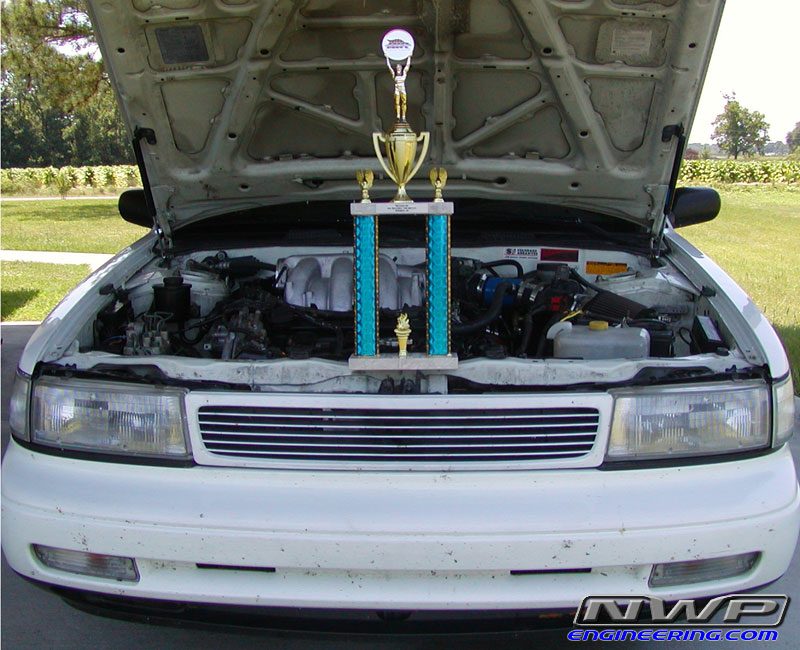
VQ35DE Engine Swap Project
(Sept 08 - May 09)
VQ35DE engine from a 2002 Nissan Maxima with only 49K miles on it!
Another angle
Pulled the torque converter housing from a 92 Maxima SE RE4F04V transmission in order to compare bolt patterns with the 95-99 Maxima RE4F04A transmission
Another shot of the 92 Maxima RE4F04V torque converter housing
1 more shot
VLSD Viscous Limited Slip Differential from a 92 Maxima SE RE4F04V
2002 Nissan Maxima GLE Automatic Instrument Panel Cluster, ECM, Drive By Wire Egas pedal with APP sensor, NATS (Immobilizer), with full Engine Control Harness

02 Maxima Steering Column w/ Ignition, Key, and NATS, and 4th gen Maxima crossmember with motor mounts
Ignition Switch with NATS and key
VQ35DE Maxima Starter with bolts along with a motor mount bracket
Power Steering Pump with pulley and tensioner adjustment bracket
Picture of a spark plug hole
Picture of a spark plug hole with oil in it due to a bad valve cover gasket
Mounted the starter with the torque converter housing in order to check compression numbers. Everything checked out great!
Another pic of the compression test
Cylinder Leak Down Test. Everything checked out pretty good.
Yanked the valve covers for further inspection.
Engine on the stand
The best and easiest way to lock the VQ35DE engine in order to remove the pulley. Just grab a spare belt and loop it around the stud as shown. Then turn the crank pulley counter-clockwise and the belt should grip tightly. Much thanks to Kevin at Goodwin Motorsports for the tip!
The pulley came off after only a few seconds of effort with a cheater bar. I must say that an impact wrench capable of 400 ft-lbs did not budge this crank bolt. But once I was able stop the engine from turning, it was easy. A 3 foot cheater bar is your friend! Also, the Factory Service Manual tells you to lock the engine with a "suitable tool" (a flat head screwdriver) in the driveplate or flywheel teeth. Don't even bother. It doesn't work!
Now that the crank pulley is removed, the timing cover comes off easily.
Removed the timing chain, tensioners, guides, sprockets, and rear valve cover
Removed the camshafts and heads
Heads, Cams, and Sprockets Removed
Another shot
Close up of the left hand side of the block. The cylinders show exactly 49K miles of grime. The cylinder wall crosshatch looks pretty good.
Close up of the right hand side of the block
Piston and cylinder walls all nice and clean. Everything was cleaned with acetone and lots of elbow grease!
Camshafts from Deluboz
Much better Rev Up Oil Pump
ARP Rod Bolts which will allow the engine to rev easily to 8K rpm without problems
Rev Up oil pump and ARP rod bolts installed
Rev up oil pump on left - VQ35DE non-rev up oil pump on right
Rev up oil pump on left - VQ35DE non-rev up oil pump on right. The oil pump rotors were weighed and the rev up weighed more. Other than the weight, both rotor designs were identical. The rev up oil pump rotors are made stronger.
Another comparison shot.
VQ35DE ARP rod bolts installed
Close up of the stock VQ35DE cylinder wall with 49K miles
Disassebled head
NWP Engineering ported intake port
Intake porting complete
Exhaust porting and polish complete
Combustion Chambers polished
Lower Intake Manifold scribed and ready for porting with Dykem
Another shot
Head ready for porting
Another shot
Stock head with 49K miles
Milled heads
Another shot of the milled heads with polished combustion chambers
Alternator, MAF, and wiring harness
VQ35DE Maxima Thermostat Housing with small metal spacer allowed the Tstat to open at 175 degrees
Headers for the 3.5L Altima from eBay. Had to be modified to fit the VQ35DE in the 3rd gen chassis. The Ypipe will not work at all. A custom Ypipe had to be made.
TurboXS UTEC Engine Management System
Spare relays and dash harness connectors from an 02 Maxima
Powered up the stock cluster for the first time!
Swapping cluster panels with a silver background instead of the black background that came stock in the 02 Maxima GLE AT.
Pruning the main dash harness to get it ready to solder into the 92 Maxima dash harness
The wires that were removed from the stock 02 Maxima main dash harness
02 Maxima steering wheel without airbag
92 Maxima GXE slip ring mounted on the 02 Maxima steering wheel. The 92 Maxima GXE slip ring assembly is from the NON-Airbag Maximas. The 92 Maxima SE assembly with airbag wouldn't work as easily. So we went with the non-airbag setup.
Everything assembled and ready to go with cruise control module. Note: In order for the cruise control module to work, you must eliminate the CAN error codes from the ECM. Since we did not use an 02 Maxima Transmission Control Module, the Automatic Transmission Engine Control Module had a CAN error code since it could no longer communicate with the TCM. We resolved this issue by swapping in a 6spd TCM from a 02 Maxima SE. Once the dealership reprogrammed the NATS, the cruise control worked great.
02 Maxima Main Dash Harness fully pruned, labelled, and ready to solder in our 92 Maxima!
VQ35DE valve spring retainer on left - VQ35HR valve spring retainer on right. The HR retainer is much stronger as you can see.
VQ35DE head fully assembled with lifters (buckets) and Permatex Assembly Lube
Deluboz camshafts had to be modified slightly in order to fit with the intake cam sprocket. This is a before photo.
This is the AFTER photo once the alignment pin hole was altered.
The 92 Maxima jack point had to be removed in order to make room for the 95-99 Maxima crossmember
In the process of removing all the spot welds
VQ35DE 02 Maxima Throttle Body Actuator ported up to the stock plate.
VQ35DE Throttle Body ported and polished
Prepping the VQ35DE block coolant passage in order to accept a VQ35HR head gasket, which is much stronger and has better coolant flow passages
Clipped hacksaw blade in order to cut into the coolant passage. Once the side cuts were made, we used a very worn down Dremel tool cutting disc to cut the bottom of the coolant passage 10mm deep. Then we were able to break away the piece safely.
HR headgasket
VQ35DE coolant passage modified for VQ35HR head gasket
Pruning the VE30DE Engine Control Harness in order to use the transmission wiring between the valve body solenoids and the TCM connector.
Done!
Ported and polished Maxima VQ35DE Upper Intake Manifold
Ported and polished VQ35DE Maxima Elbow
Fully ported and fully assembled head ready for install!
Wiring up the 3rd gen with the eGas pedal and APP sensor
Installation of the egas pedal
Modified egas pedal assembly compared to stock 02 Maxima egas. The gas pedal rod had to be bent in order to fit properly around the 3rd gen steering column.
AC condensor no longer needed due to AC removal. Weight reduction!
Ignition switch installed
Heads installed
Timing cover installed
Timing chains and sprockets installed
Tensioners and guides installed
Timing cover installed
Oil pressure sending unit and stock oil pressure switch installed. Note: Stock oil pressure switch had to be removed since it interfered with the passenger axle clearance.
Oil pan installed
Engine ready for swap! Fully assembled with NWP Engineering Thermal Intake Spacers and Premium VIAS Block Plate!
Engine ready for install!
One more shot
1992 Nissan Maxima on lift ready to swap engines!
No more VE30DE engine anymore!
VE engine on floor
Out with the old!
Transmission separated with Edge Racing 3000rpm high stall torque converter
92 Maxima SE RE4F04V Transmission mounted to VQ35DE engine! 95-99 TC housing was used.
NWP Engineering custom crossmember brackets in order to use the 4th gen Maxima crossmember on the 3rd gen Maxima. Only 2 brackets were used. The bracket made from angle iron was not needed. It was just fabbed up as a backup prototype.
Rear crossmember bracket welded in place.
Front bracket welded in.
Reinforcement plate was used to help beef things up.
Close up shot of plate
The first time the VQ35DE engine has been in our Maxima!
The VE30DE passenger axle with VQ35 engine in place. The stock 3rd gen passenger axle mounting bracket will not mount to the VQ engine. So instead of trying to fab up a custom bracket, a 4th gen Maxima bracket was used since it bolts directly to the VQ35 along with a 4th gen Maxima axle. The axle length and splines are the same as the 3rd gen.
Some more wiring is needed to get the ECCS and Throttle Body Motor Contol Relay to work.
Powering things up for the first time in the 92 Maxima.
49K miles shown on the odometer, which is exactly what our engine has. The engine and cluster came out of the same car.
Custom Ypipe fabricated by RJ's Custom Piping in Raleigh, NC. The RH header flange had to be shorten by about 2 inches due to how low the VQ35 engine sits in the 3rd gen Maxima.
Custom mandrel bent equal length Ypipe made by Ron at RJ's Custom Piping. They do all their mandrel bending IN HOUSE! The only mandrel bender in NC!
Tell Ron that Aaron from NWP sent you. :)
Headers getting warmed up for the first time!
Engine finally installed and running!
Wiring of the full standalone Suprastick transmission control unit.
More wiring
Momentary-On illumination switch used to shift gears with the Suprastick in manual mode
Suprastick's switches in order to switch between automatic and manual mode and from Map 1 and Map 2.
Another shot of the Suprastick manual shifting switch along with the nitrous switches (Nitrous shouldn't be installed until Fall of 2010. We still want to have fun with the NA engine build. 280whp is tough to handle on street tires!)
Electric exhaust cutout, manual control of electric fans, torque converter lockup, and clutch overrun switch
Suprastick wired up and mounted with UTEC
The NWP Engineering Maxima is the winner of the All Motor Unlimited class at MAXUS 09 where the world's fastest Maximas came out to race! This Maxima is currently the world's fastest All Motor Nissan Maxima as of 2010.